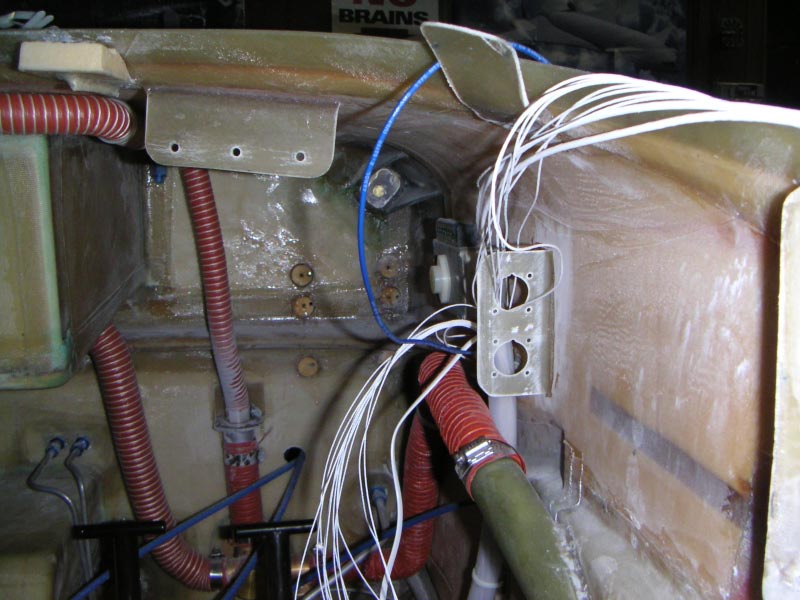
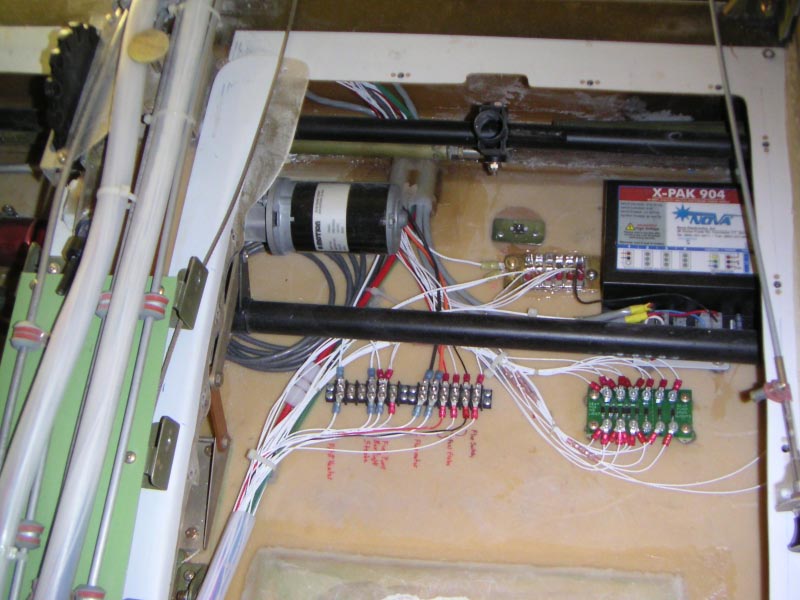
| Most of the wiring for the instrument panel is pass through connectors mounted on the right side of the fuselage just forward of the panel. |
 |
|
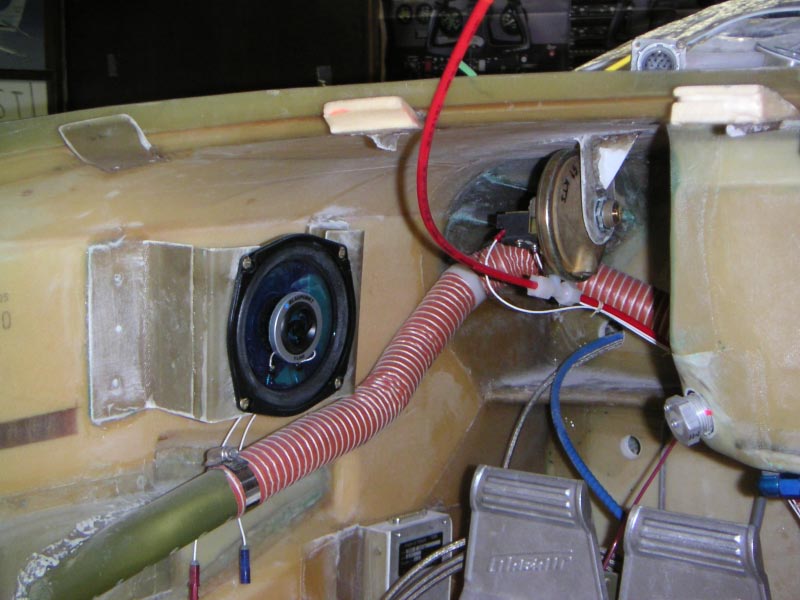
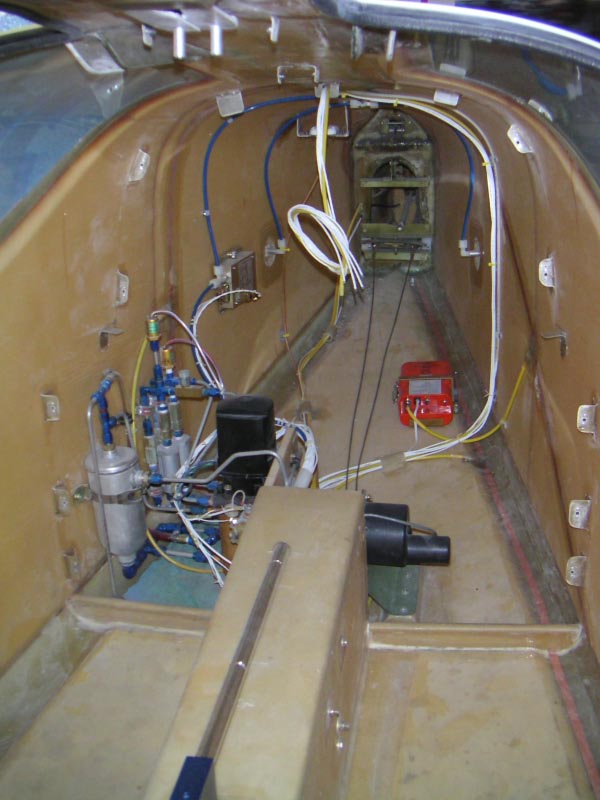
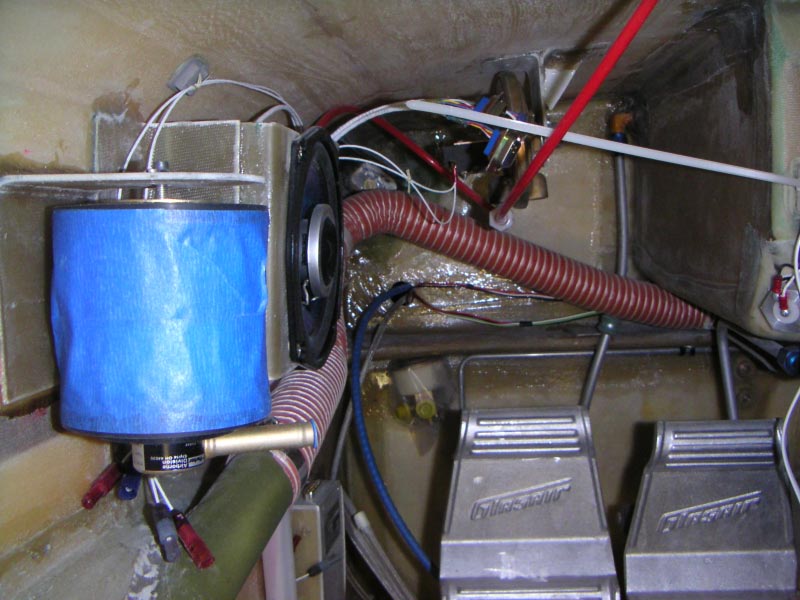
| Speaker and squat switch mounted. Nothing note worthy about a speaker, but the squat switch is different. I am using a pressure switch used in industrial heat and vent systems. It is a differential pressure switch able to switch 10 amps. One side of the switch is teed into the pitot system and the other is open to the cabin (static) pressure. When the airspeed reaches 60 knots it will enables the up side of the gear selector switch. It works great on the ground. I fact I had the airplane on jacks and was checking the gear door fit. I went to raise the gear and nothing happened. I started troubleshooting the problem only to find the squat switch was not allowing the gear to come up. By putting a piece of surgical tubing on the pitot tube and squeezing it I was able to simulate 60 knots and everything worked as it was designed to. |
 |
|
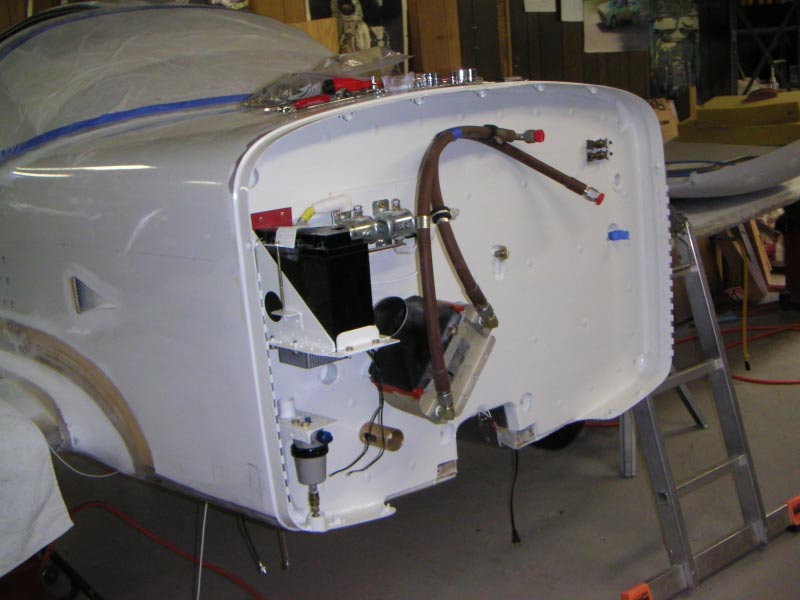
| At the bottom of the photo you can see a small tab added to the nose landing gear door. The nose gear strut was no close tot he lower cowling for comfort, so a relived the cowl and added a small tab to the door to cover the opening. |
 |
|
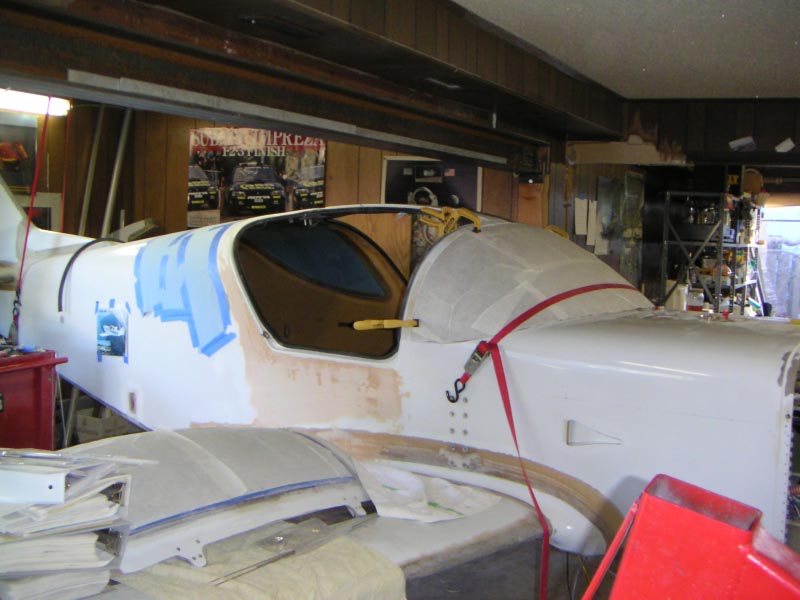
| I have been very worried for sometime now about installing the windows. I have heard terrifying stories about the Plexiglas cracking or crazing. I also had a big worry about scratching the window. All was put to rest when the installation of the rear window occurred with out a problem. Ready the only problem that did occur was removal of the protective coating on the surface. After six year it had become very, very difficult to remove. I found success but butting a few coats of Spraylat on top of the coating from S-H. I then soaked the window in warm water. Using my finger nail I was able to remove both the old and new coatings. Be sure to do this in the bath tub when the coast is clear. |
 |
|
| The overhead console in work. The plan is to have a baggage light, map light, and a place to hang the headset. The headset arrangement is proving to be the most difficult. The hope is to hang the headset on the end of a fiberglass spring beam that will push the headband of the headset against the ceiling of the overhead console. |
 |
|
| Here you can see the spring beams that the headsets will hang from. Another idea copied from Andrew Seefried. Thanks Andrew for so many great ideas! |
 |
|
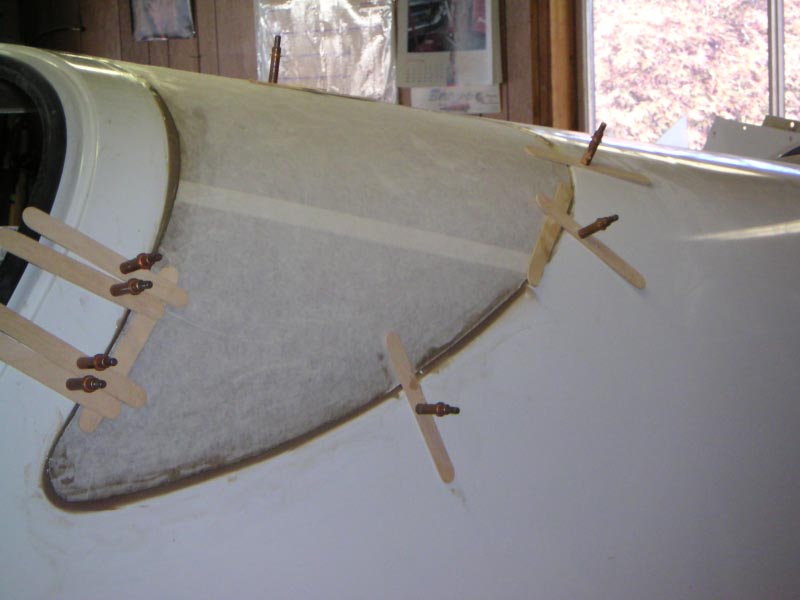
| Installation of the front windscreen. I used the top forward wing attach screws to pull against with nylon strap. The top aft edge was clamped carefully in place. |
 |
|
 |
||
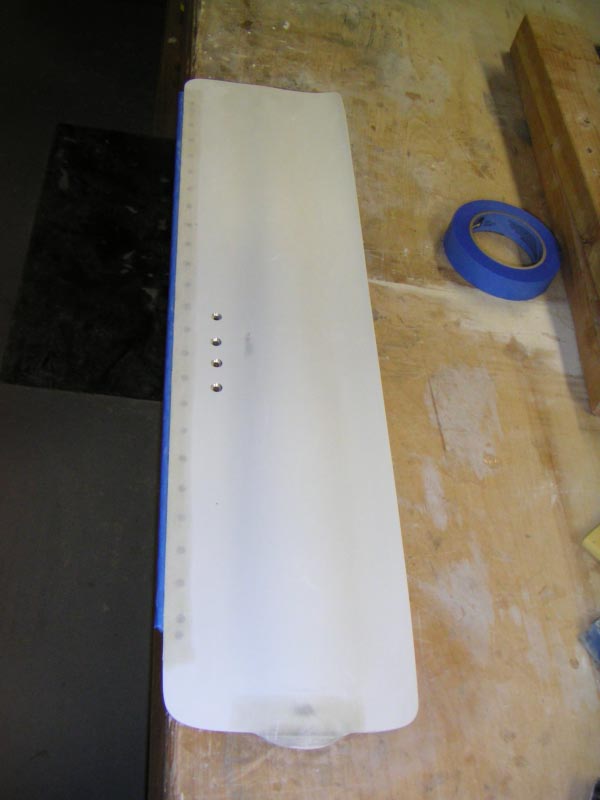
| Only two holes to fill. Autopilot, and G-meter. |
 |
|
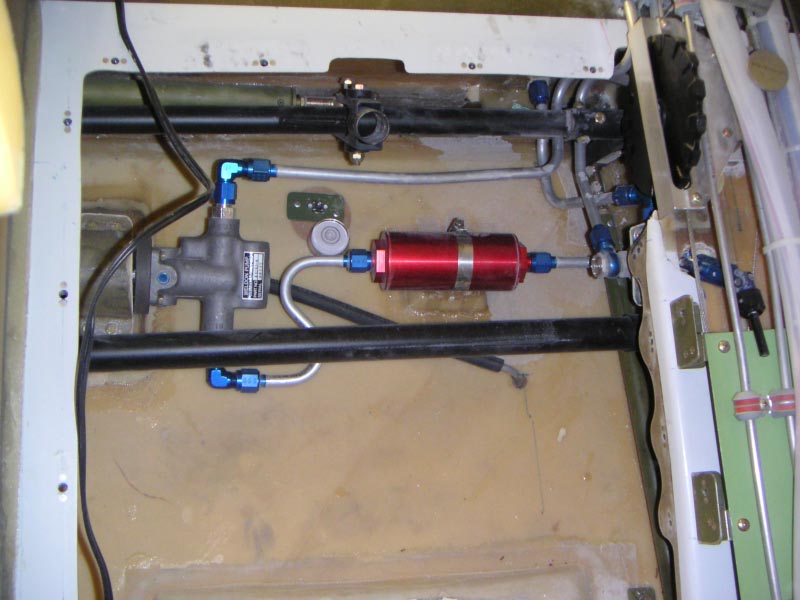
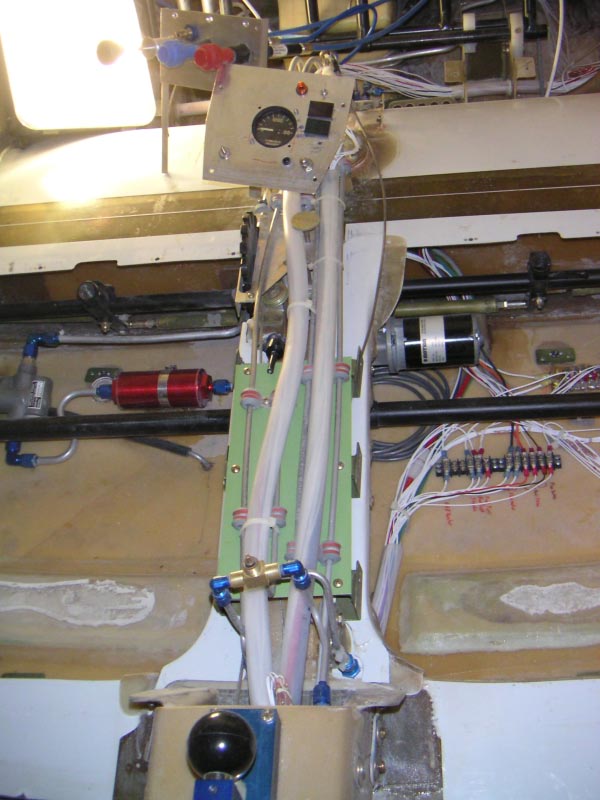
| Fuel pump and fuel filter. Just to the left of the red fuel filter is a two axes bubble level. While the airplane was leveled, pitch and roll, I bonded this level in place. It is located so that it can be seen through the opening in the seat pan for the stick. So in the future to level the airplane just pull the seat cushion and take a look. |
 |
|
| Fuselage aft section complete, I think. |
 |
|
| Wiring for the wing runs through the left seat pan. |
 |
|
| Both seat pans are get full of equipment and disconnects. |
 |
|
| Vacuum filter installed. |
 |
|
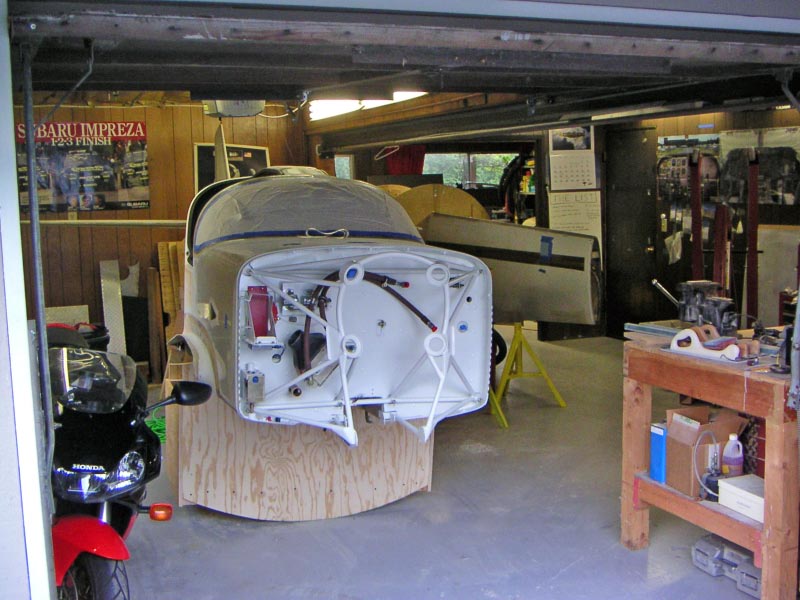
| After building for soooooo long, it is time to start disassembly and painting. The remove of the engine so that the firewall could be completed and then painted was one of the first items. |
 |
|
| The current plan, always subject to change, is the engine will not be reinstalled until the airplane is at the hangar. |
 |
|
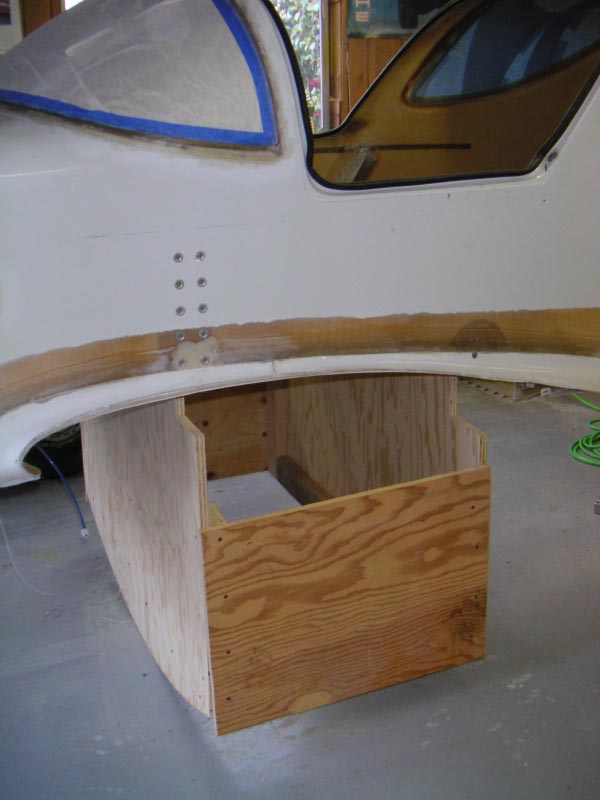
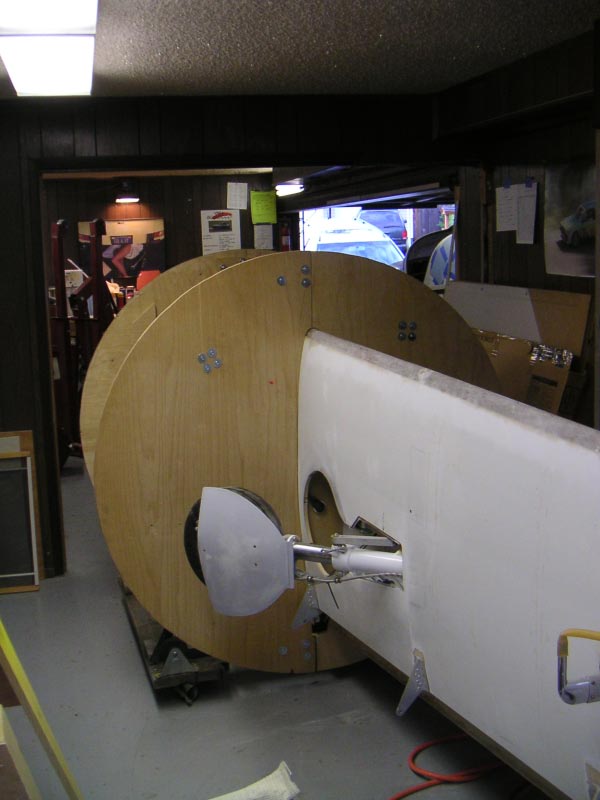
| Disassembly has started. I removed the wing from the fuselage the other day. I put the fuselage on the fixture shown. The idea was to have a base that would allow the fuselage to be rotated onto its side to allow painting of the underside. I don't think I like the fixture the way it is currently. Rocks side to side to easily. I am planning to cut the bottom to only have three position. More photos later. |
 |
|
| Wing attachment locations are used to mount the fuselage base. |
 |
|
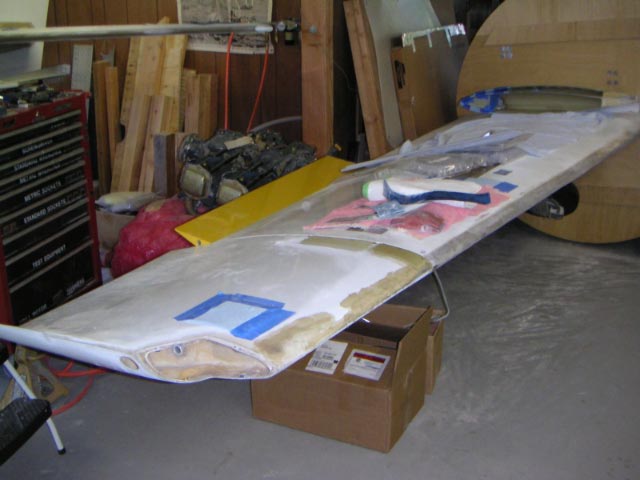
| Wing back into the rotisserie. I am planning to use this arrangement while painting the wing. |
 |
|
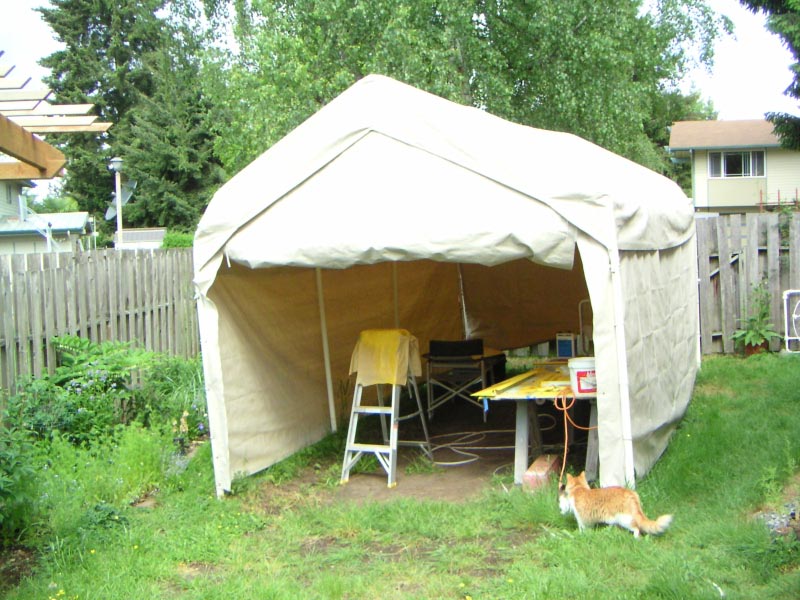
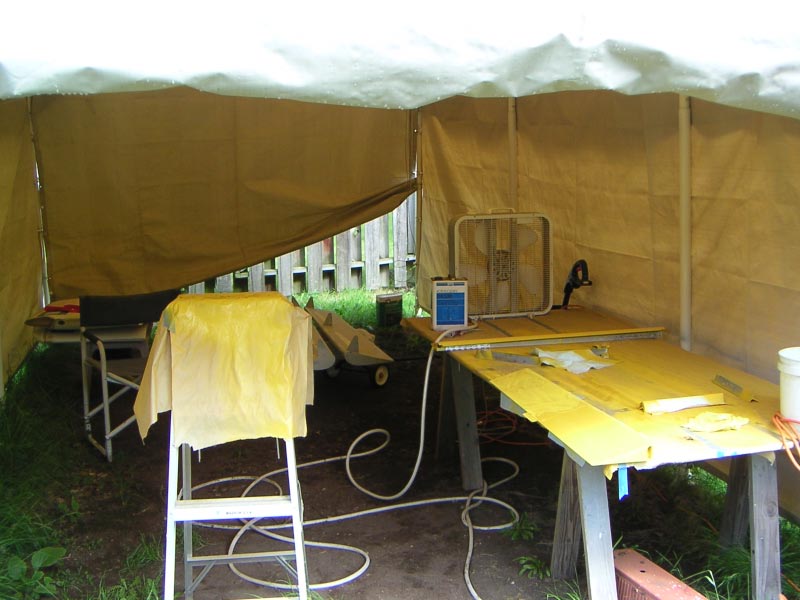
| The temporary painting shed. Just a cheap tent type structure located at the side of the house. Just one paw a you will be down a few lives! The cat in the photo is none other than Pratt. Some where just inside the tent is Whitney. What do you call two cats? Pratt & Whitney of coarse. |
 |
|
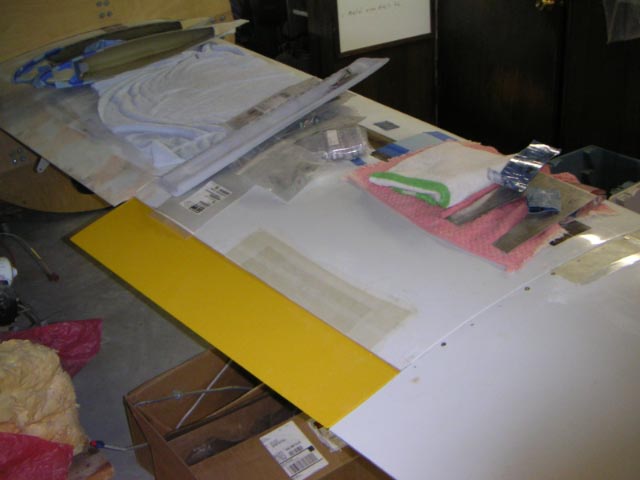
| Guess what color the airplane will be. YELLOW! |
 |
|
| First to be painted was the aileron. I then balanced them to be slightly over balanced, meaning the trailing edge flips up when released. The required removing an inch or more from the base of the stock counter weight. |
 |
|
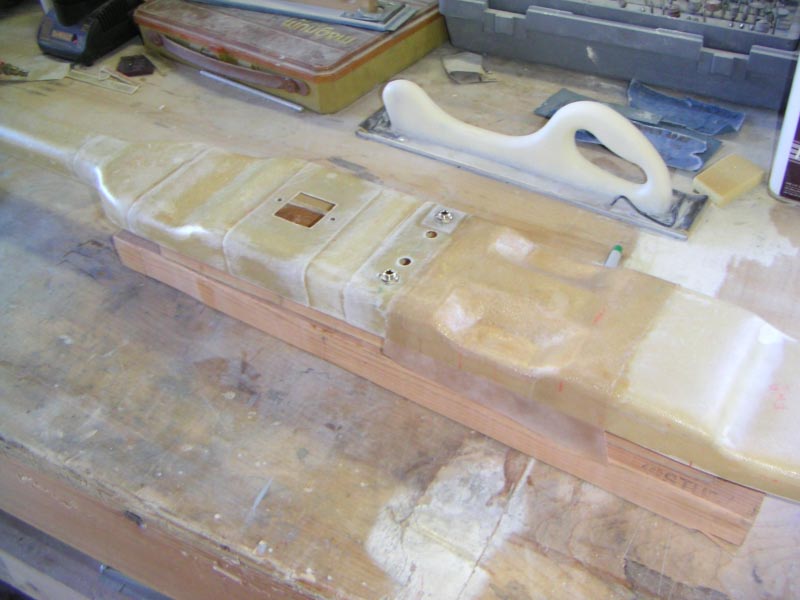
| Fit check to insure the tip(s) will fit. Both the extended and the short tips fit well. Not easy to get both the long tip and the short tip to use the same mounting holes! |
 |
|
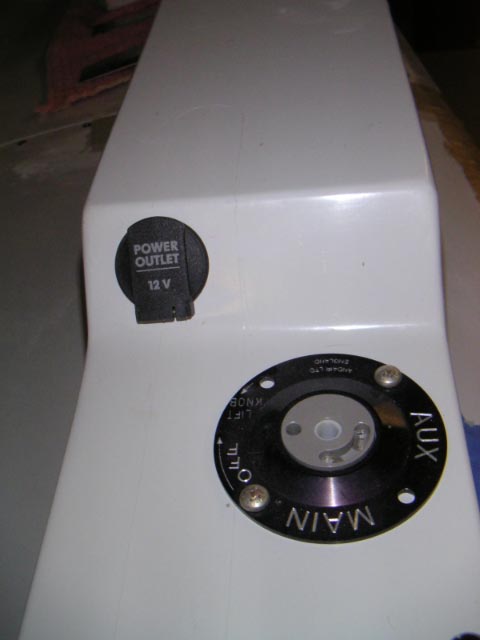
| I wanted to install a power outlet in the airplane. I got the outlet from a junk yard out of a wrecked VW Golf. This will enabled different type of toys to be powered, GPS, lights, vacuum, compressor... The outlet is good quality will a nice cover that is spring loaded |
 |
|
| I got the seat cushions temporarily covered at the suggestion of the upholstery shop. The idea being that the first few hours of flying most likely will require the repeated removal of the interior for fixing, adjusting changing, and modifying stuff. Not sure if I like the sound of it. But I headed the advice. The flight test phase will be flown without the installation of the interior. |
 |
|
| Painting the rudder and elevators. |
 |
|
| Short wing tips complete. |
 |
|
| Top cowling complete. |
 |
|
| Fuselage primed and sanded |
 |
|
| Ready for priming |
 |
|
| I had the panel laser engraved by Laser Engraving The panel the same color as what was used in the 727 flight deck. |
 |
|
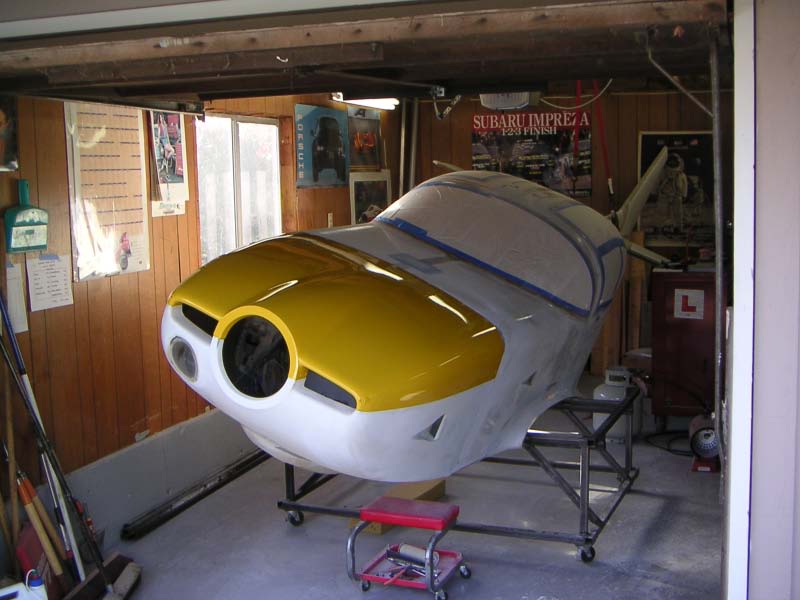
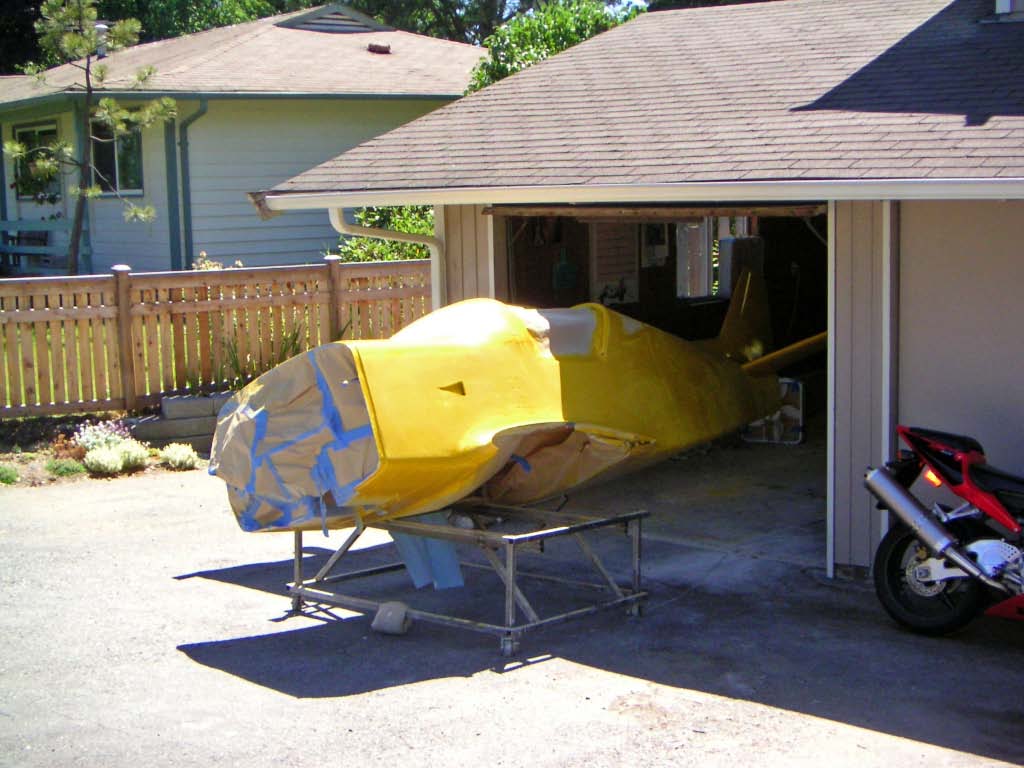
| Color on fuselage. The process of painting the airplane is the same as painting a car. Sand the airplane to remove the shinny gel coat surface. Fill any large deviations with mill-fiber resign. Final fill with polyester body filler "Bondo". Up to this stage sanding has been with 60-80 grit paper. Prime with high build primer. Fill with polyester glazing putty as needed. Sand with 180 grit. Glazing putty has a smoother surface finish than normal filler, great for the small details. Prime and sand with 220 paper. Prime/seal and wet sand with 400. Paint color and wet sand with 800 grit paper. Apply clear coat. Clean between each coat with wax and grease remover. |
 |
|
|
Manufacture |
Product |
 |
| Evercoat | Polyester lightweight body filler | |
| Evercoat | Polyester glazing | |
| PPG | K38 high build primer with K201 Catalyst | |
| PPG | DP48LF Epoxy primer sealer with DP402LF catalyst | |
| PPG | Concept acrylic urethane with DT870 reducer and DCX61 hardener | |
| PPG | DCU2042 Clear | |
| PPG | Acryli-clean wax and grease remover | |
| Omni | MS251 multipurpose cleaner | |
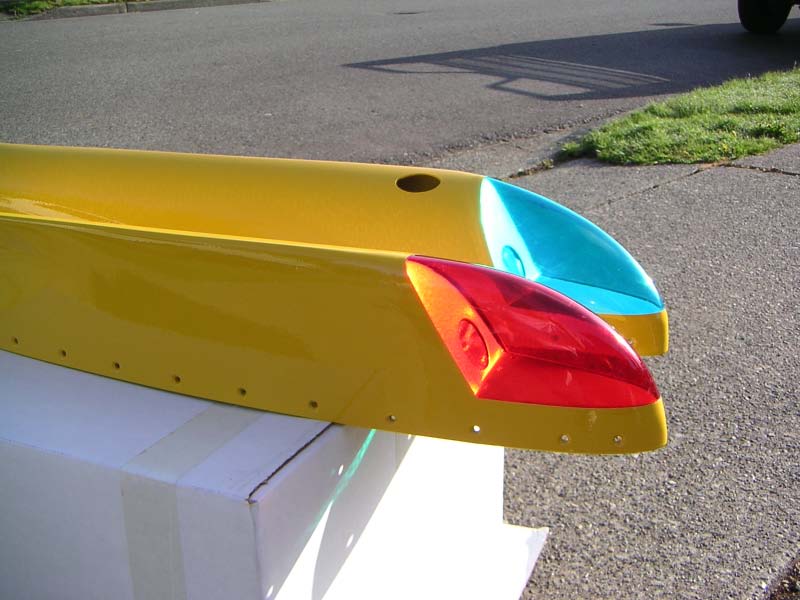
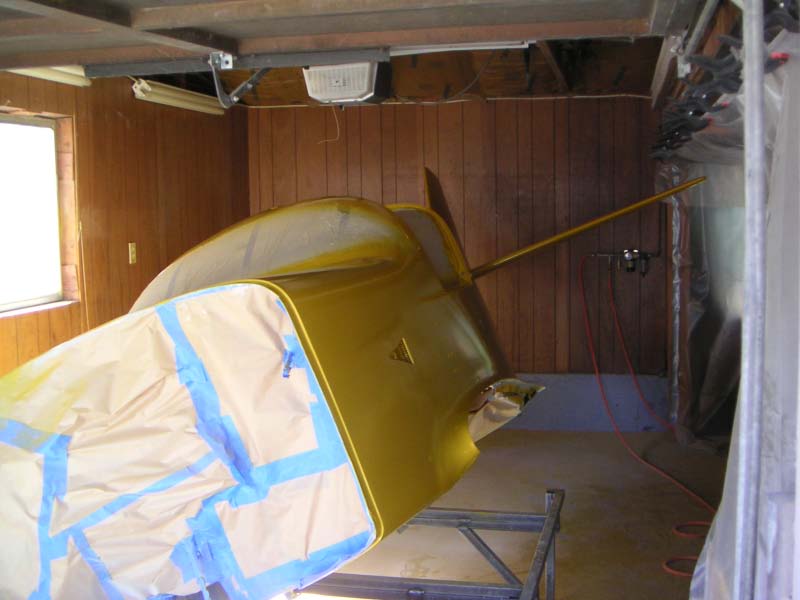
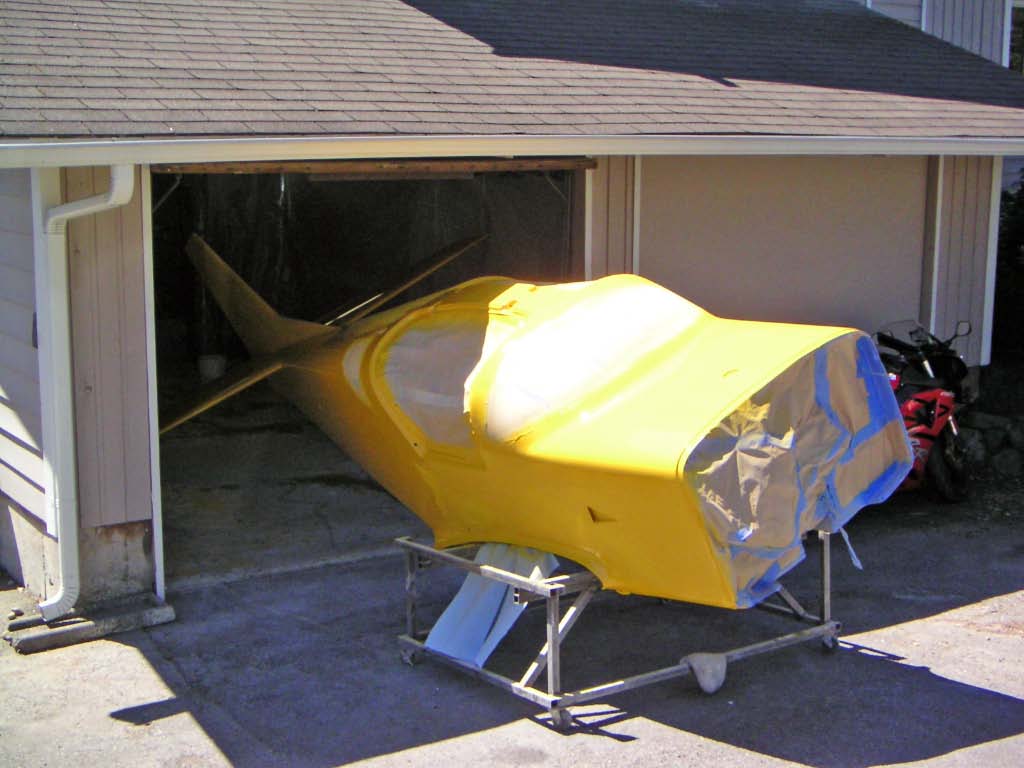
| Wanted to take a look at the paint in the sun. |
 |
|
| More wet sanding! A few areas need touch up, but not to bad for a garage paint job. |
 |
|
|
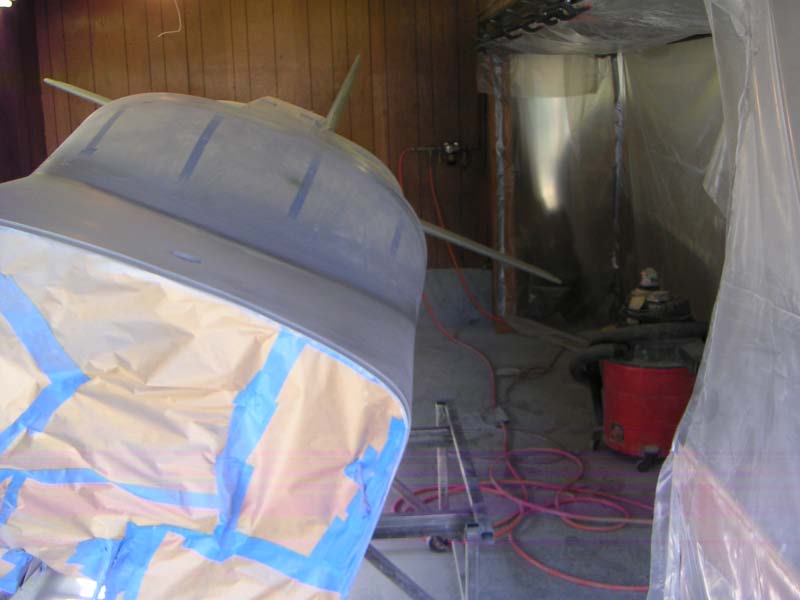
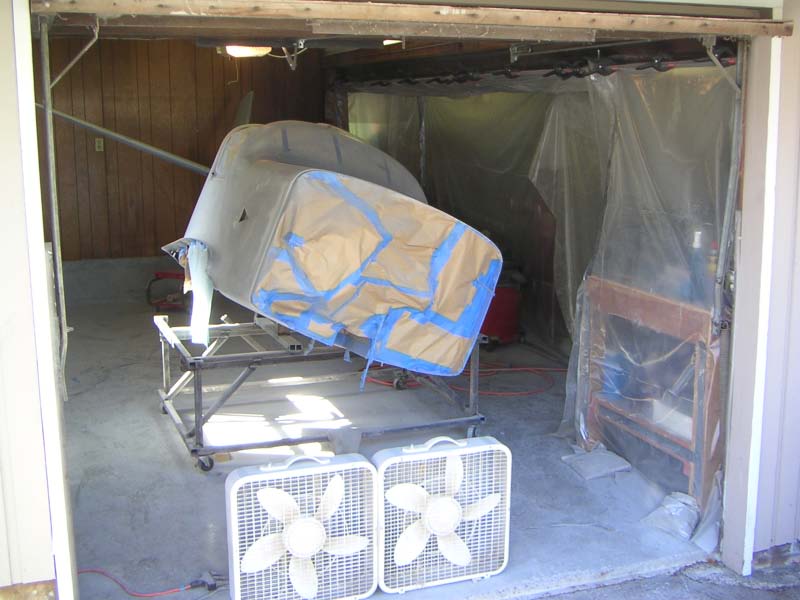
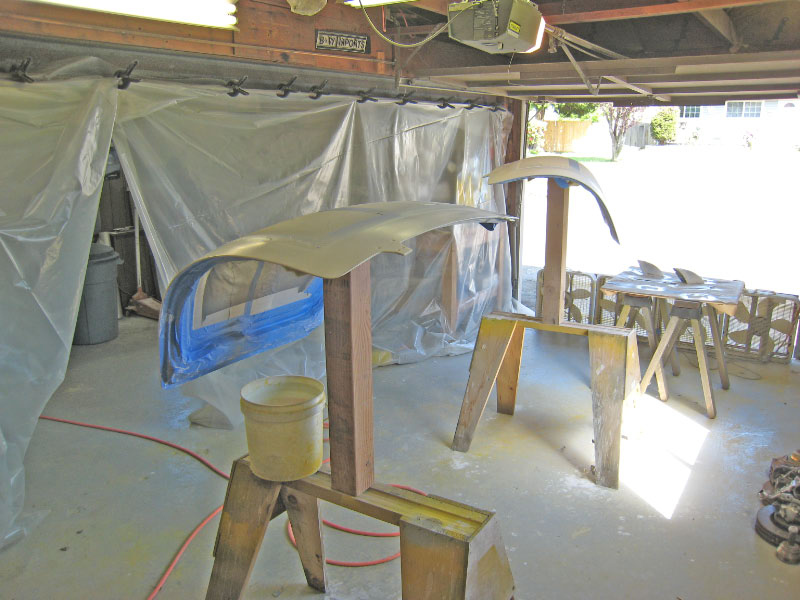
Happy days, the last parts to be painted!
This shows how I have the garage, or paint booth setup, Four 20 inch box fans with furnace filters over them are at one end of the garage. The filters help to catch the over spray and keep the world outside from turning yellow. I put plastic sheet between the two stalls of the garage as the parts that I am dealing with are now smaller, this also cuts down of the amount of fumes that enter the rest of the house. What is not show is a sheet of plastic that hangs above the fans covering the rest of the opening. Air enters thought the gap in the plastic sheet between the stalls drawn from open windows and doors on the opposite side. This works well to draw fumes from the other stall as well as the rest of the house. |
 |
|