| Joining the wing and fuselage was painstaking. There are 6 adjustments that are needed to be made and every time one is adjusted it of course make the other 6 invalid. The tripod in the foreground is a laser level and it helped greatly in getting the wings positioned correctly with the fuselage. | 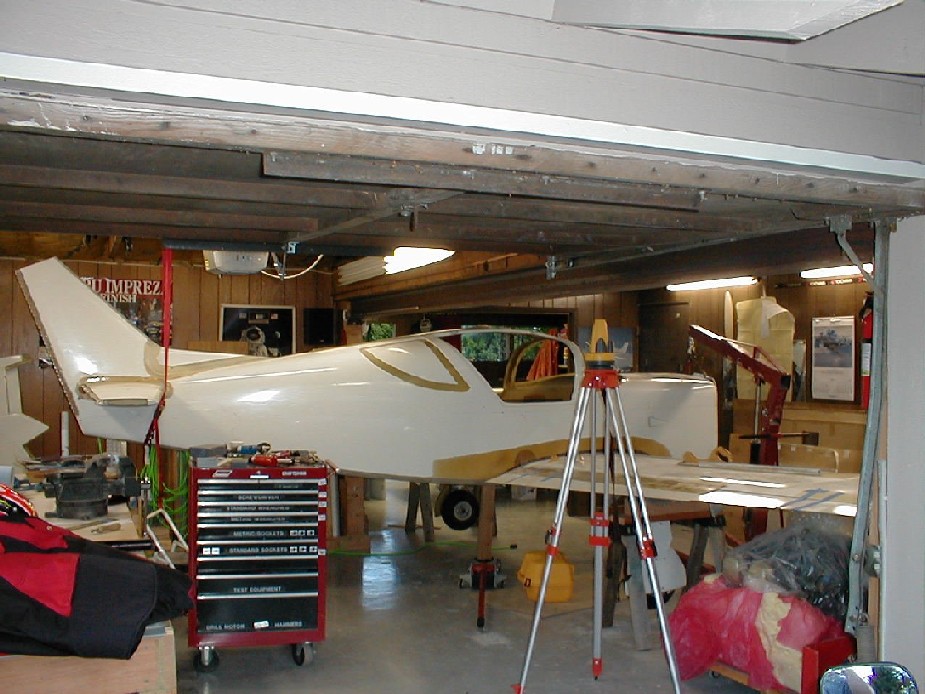 |
| 1) Fuselage level in roll.
2) Fuselage level in pitch. 3) Wing level in roll. 4) Wing centered left to right in the fuselage. 5) Wing square with the fuselage. 6) Correct angle of incidence between the wing and fuselage. |
 |
| Check the measurement again and again just to be sure, then using Bondo temporary joint the two together. | 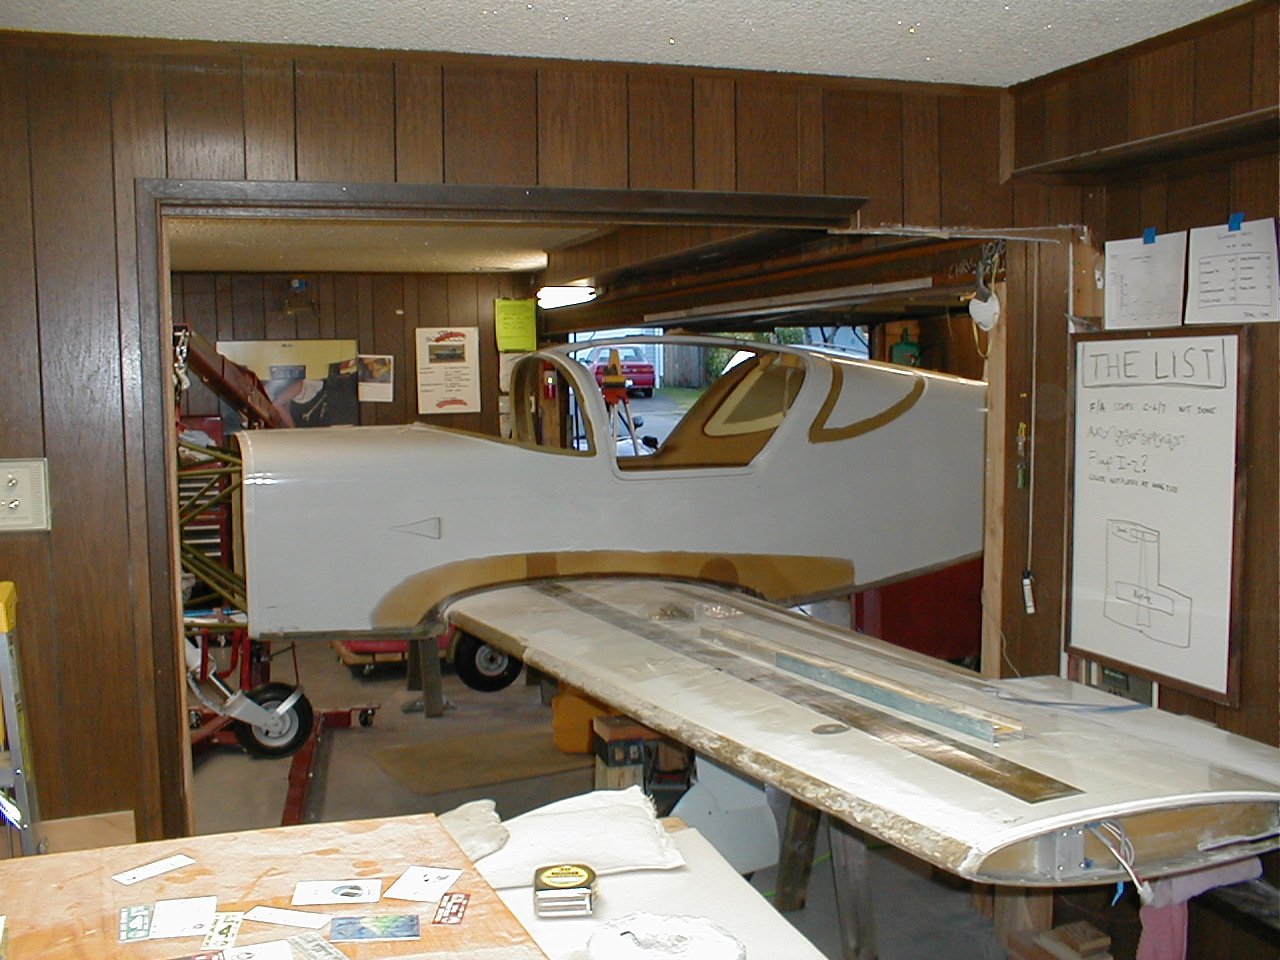 |
| As it sits on the gear. Still having trouble fitting the cowling. The wing root fairing is installed. On the right side I split the fairing at the mid point and removed about .5 inches to its length. | 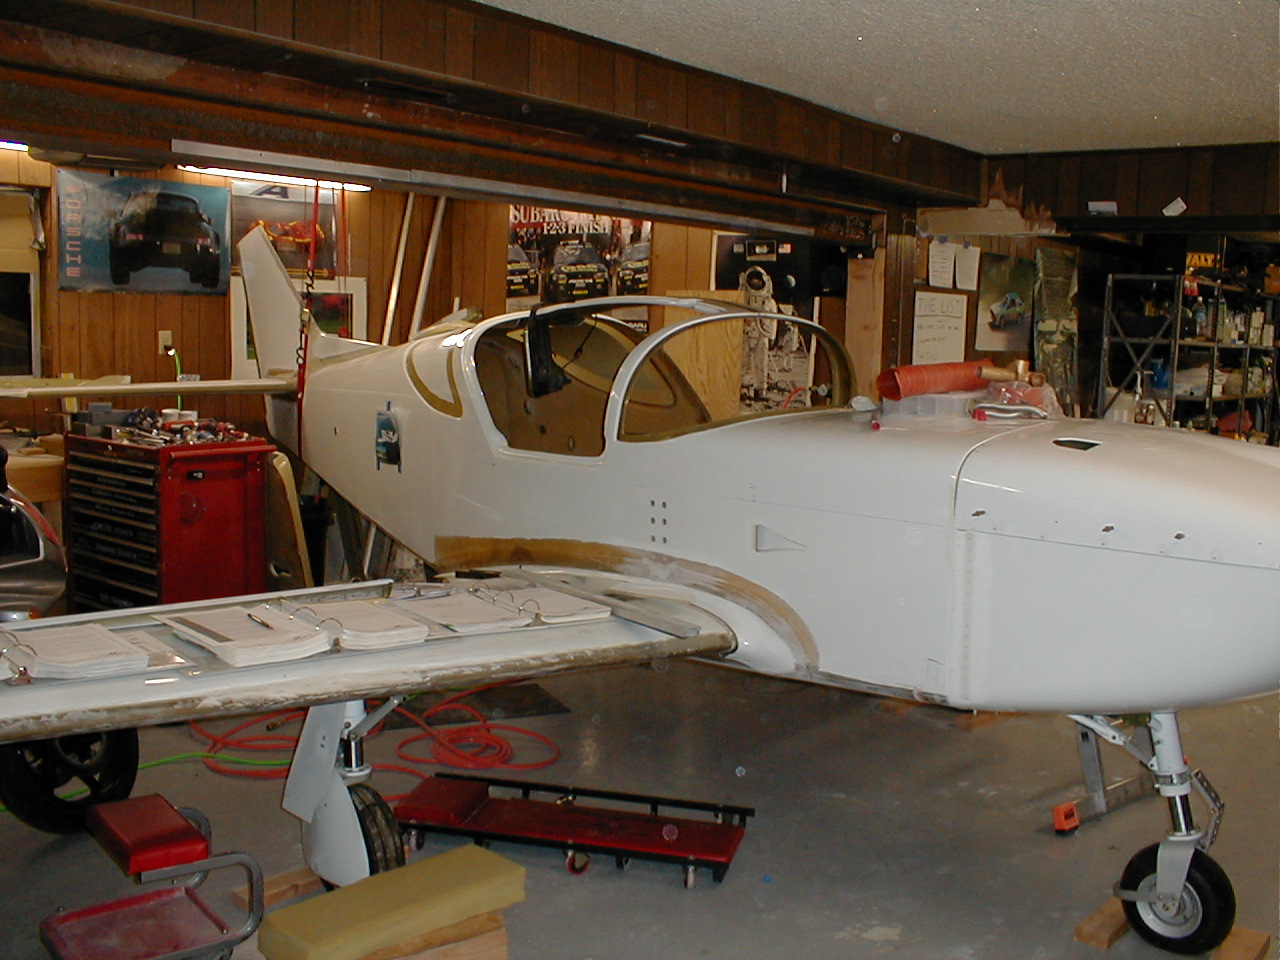 |
| The adjustment of the cowling required the propeller and spinner to be installed. The airplane fits the garage with only a few inches to spare. I sure would however be nice to have a bigger area to build in as to go from one side of the airplane to the other requires a trip around the outside of the garage or a slide across the floor. |  |
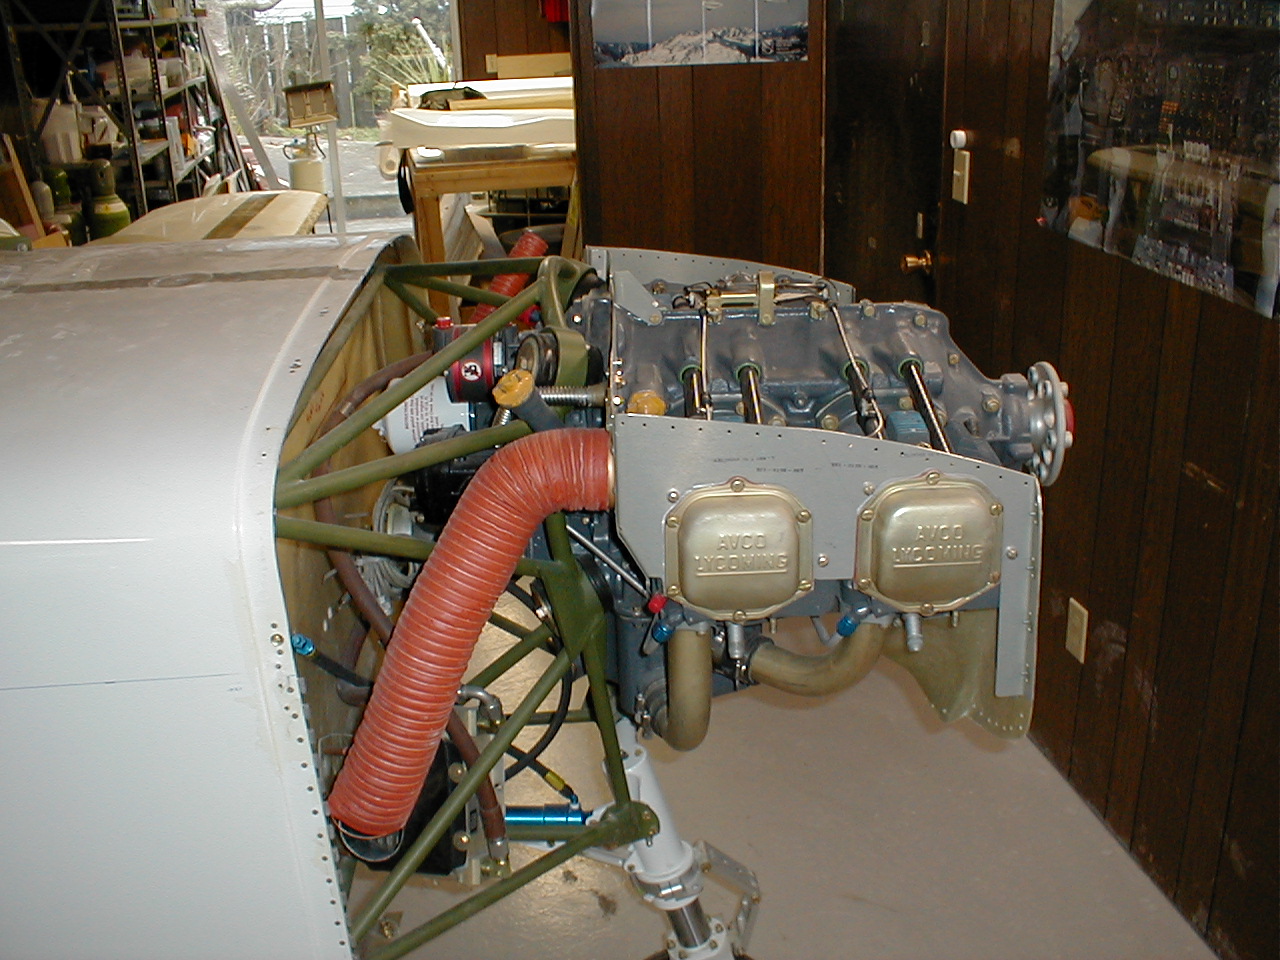
| I have the engine mounted so the cowling could be adjusted, it made a real pain to get from one side of the airplane to the other. The engine sure looks much better mounted to the fuselage than just sitting in the create. | 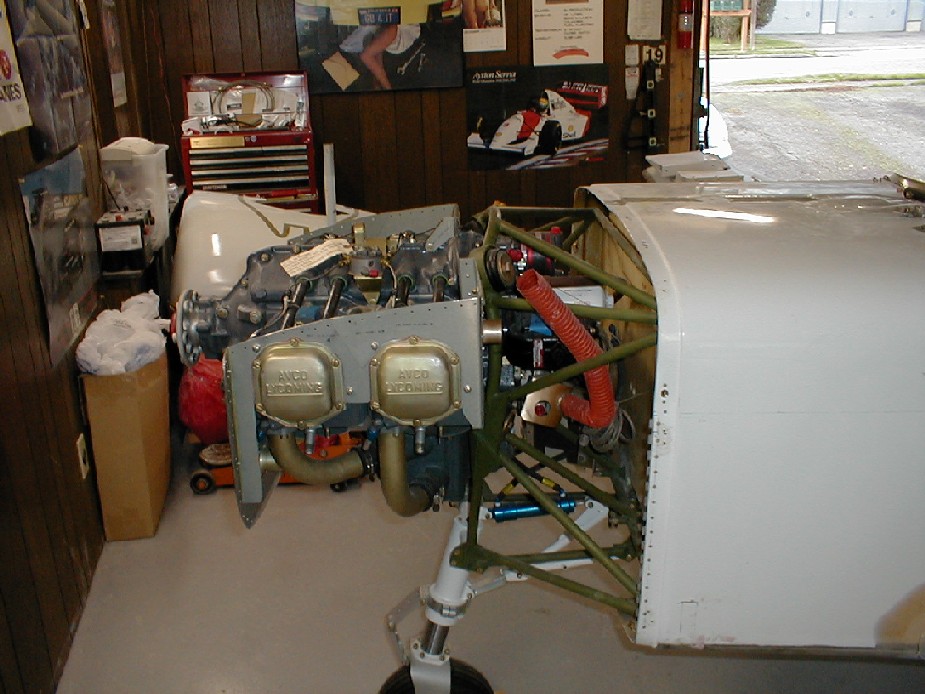 |
 |
|
 |
|
| The seat back complete with cutout for the emergency hand pump handle. | 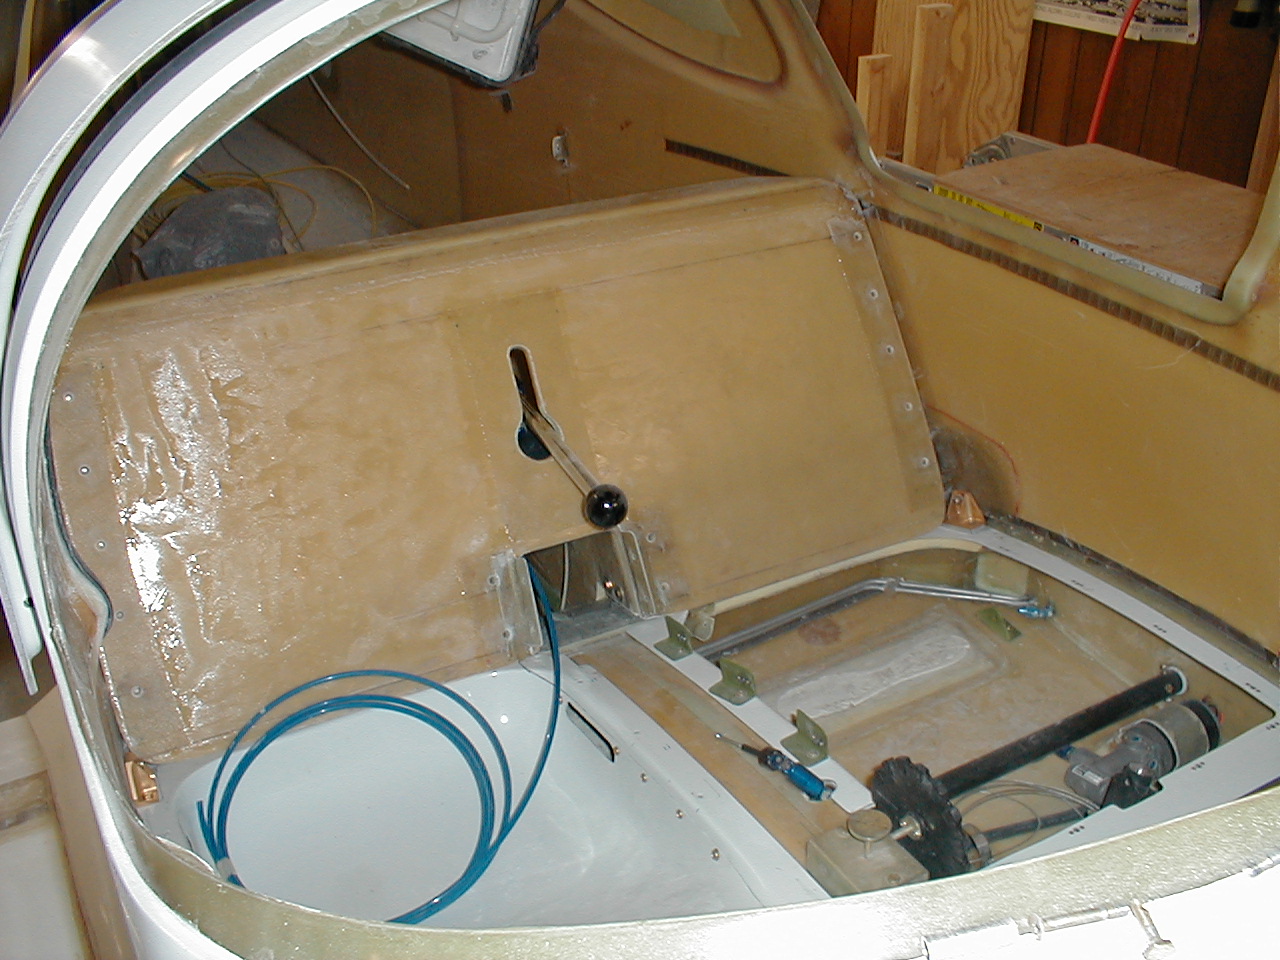 |
| Door one installed. Let me tell you not an easy job. I still have a bit of fairing to do to have it match to the fuselage. |  |
| Wing root fairing installed on right side. | 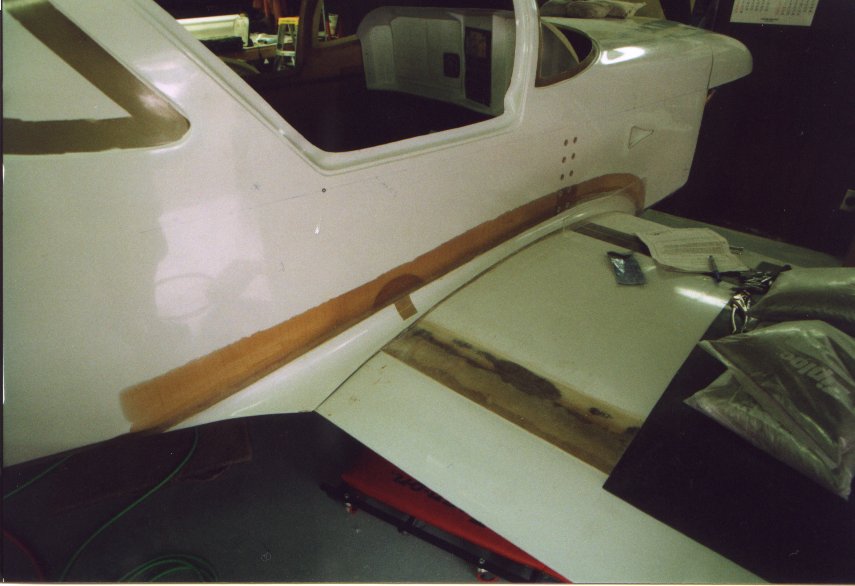 |
| Panel mocked up. Including paper gauges. | 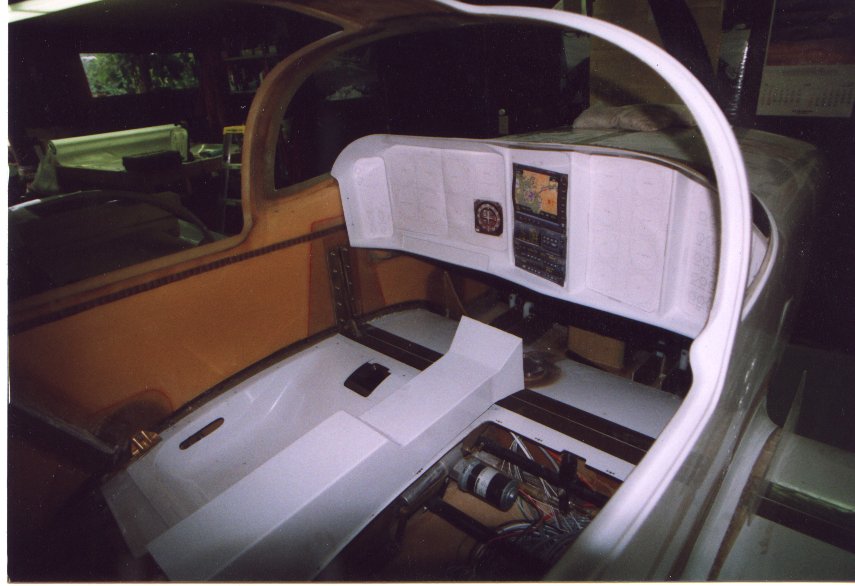 |
| I have modified the seat pans per Neil Garvin, see Glasair.org for more. The inboard lip of each of the seat pans is fastened under the center consoled. This made removable of the seat pan a real pain as the center consoled needed to be removed first. So the seat pan was spilt was that was not necessary. | 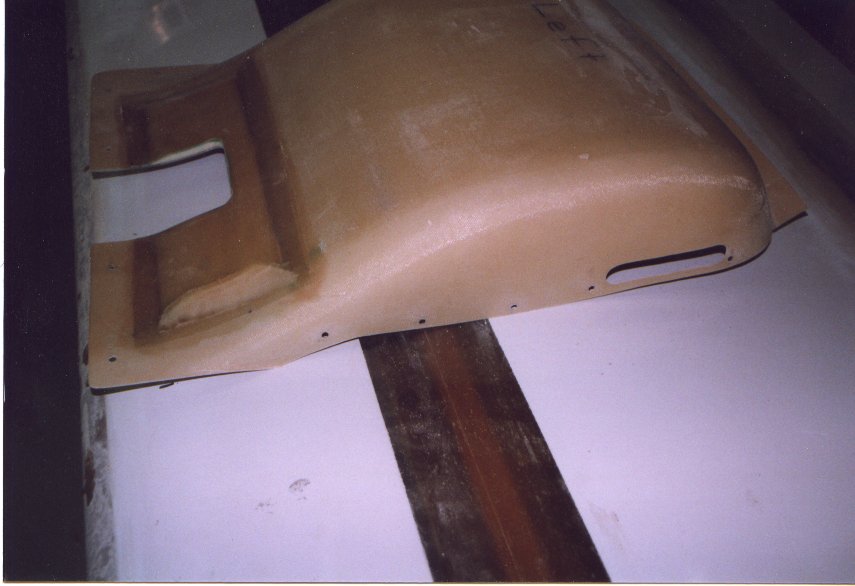 |
| Here you can see the reinforcing I added around where the control stick passes through. As you stand on the seat bottom when entering and exiting the airplane and I am not that light, nice way of putting it. I decided to strengthen this area. |  |
| Here you can see the split just below the center consoled. | 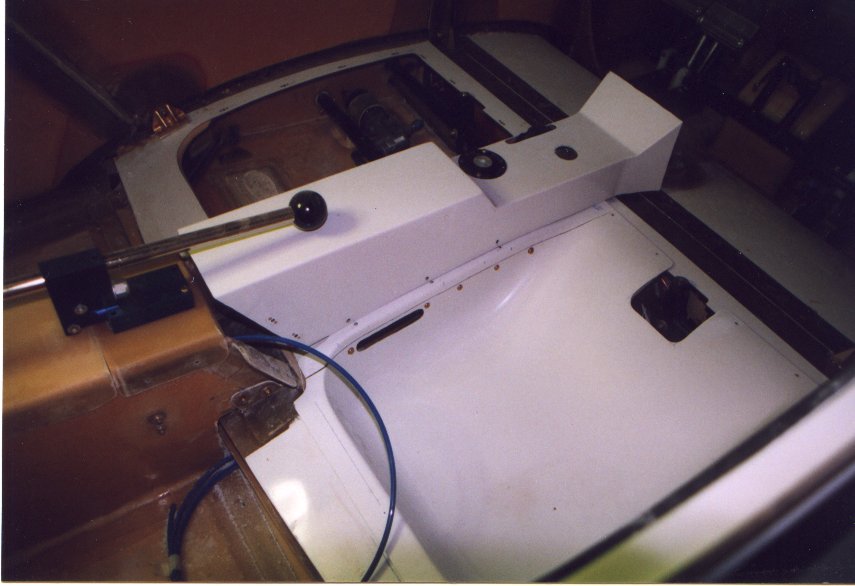 |
| This is how it looks with the seat pan removed. You can see the second half of the seat pan still under the center consoled. | 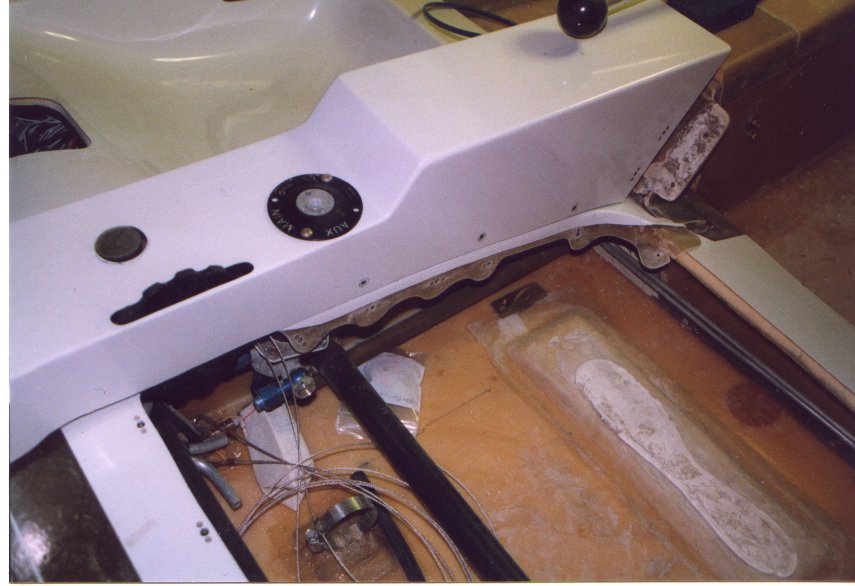 |
| This is the start of a change to the cowling pin retaining system. I saw this cool way of retaining the cowling pin on a RV. Those guy sure come up with some pretty cool ideas. As more progress is done I will share the photos. |  |
| Landing gear retract test movie! (warning one meg.) Sorry only works with I.E. | 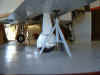 |
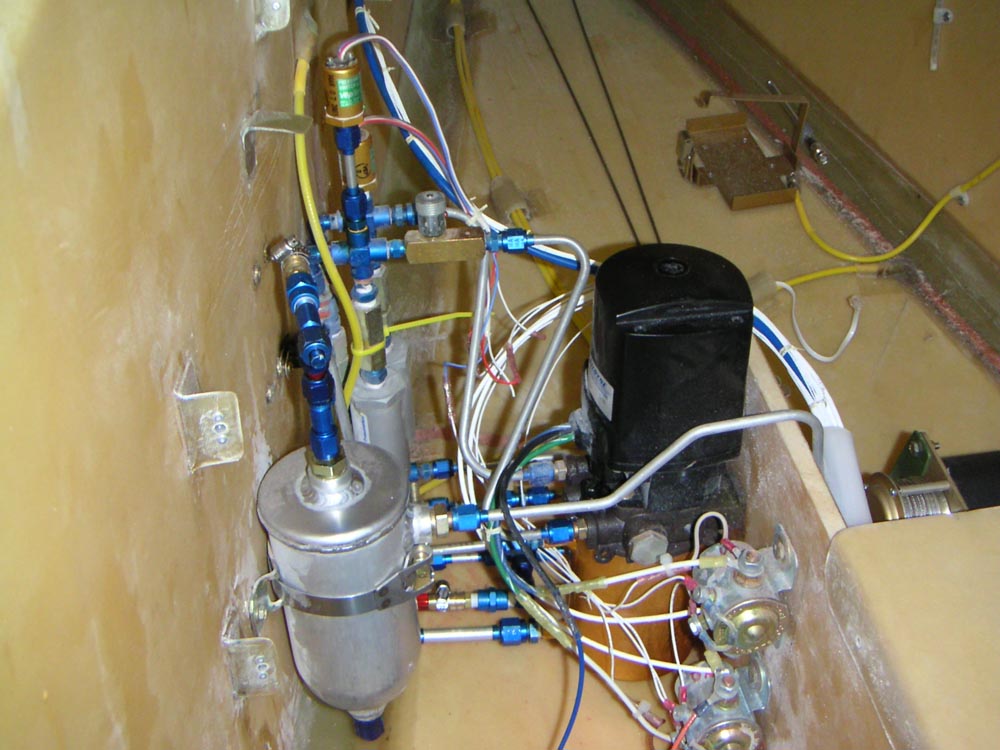
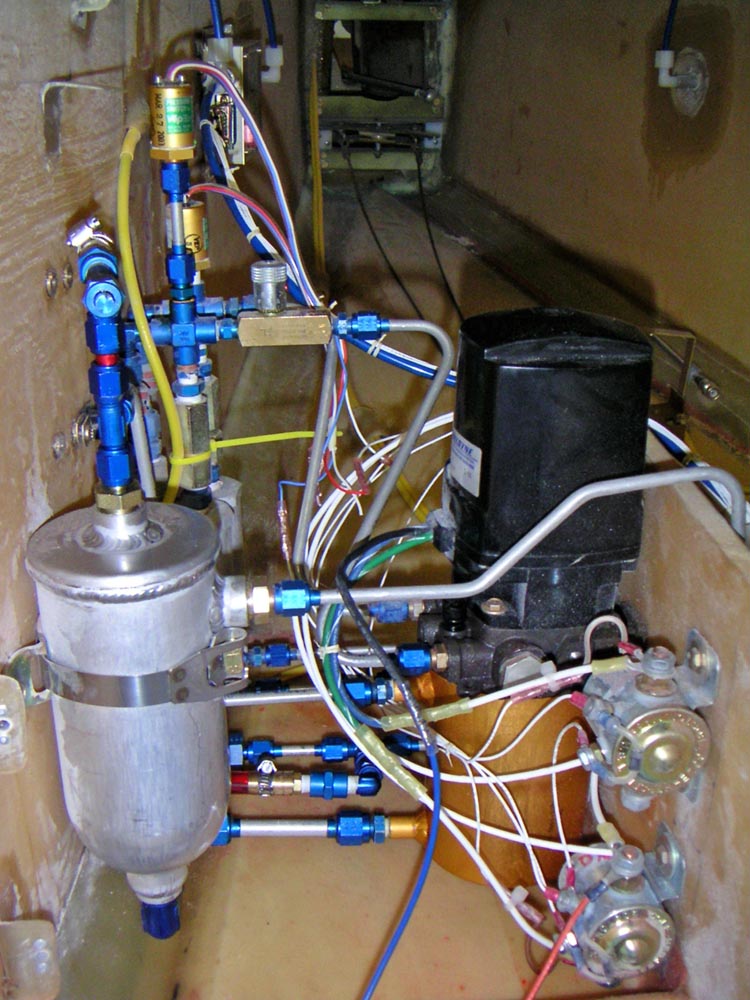
| Landing gear hydraulic pump |  |
| I have installed a maze of filters and check valves to try and keep the pump clean. After the fact not sure it was worth it. | 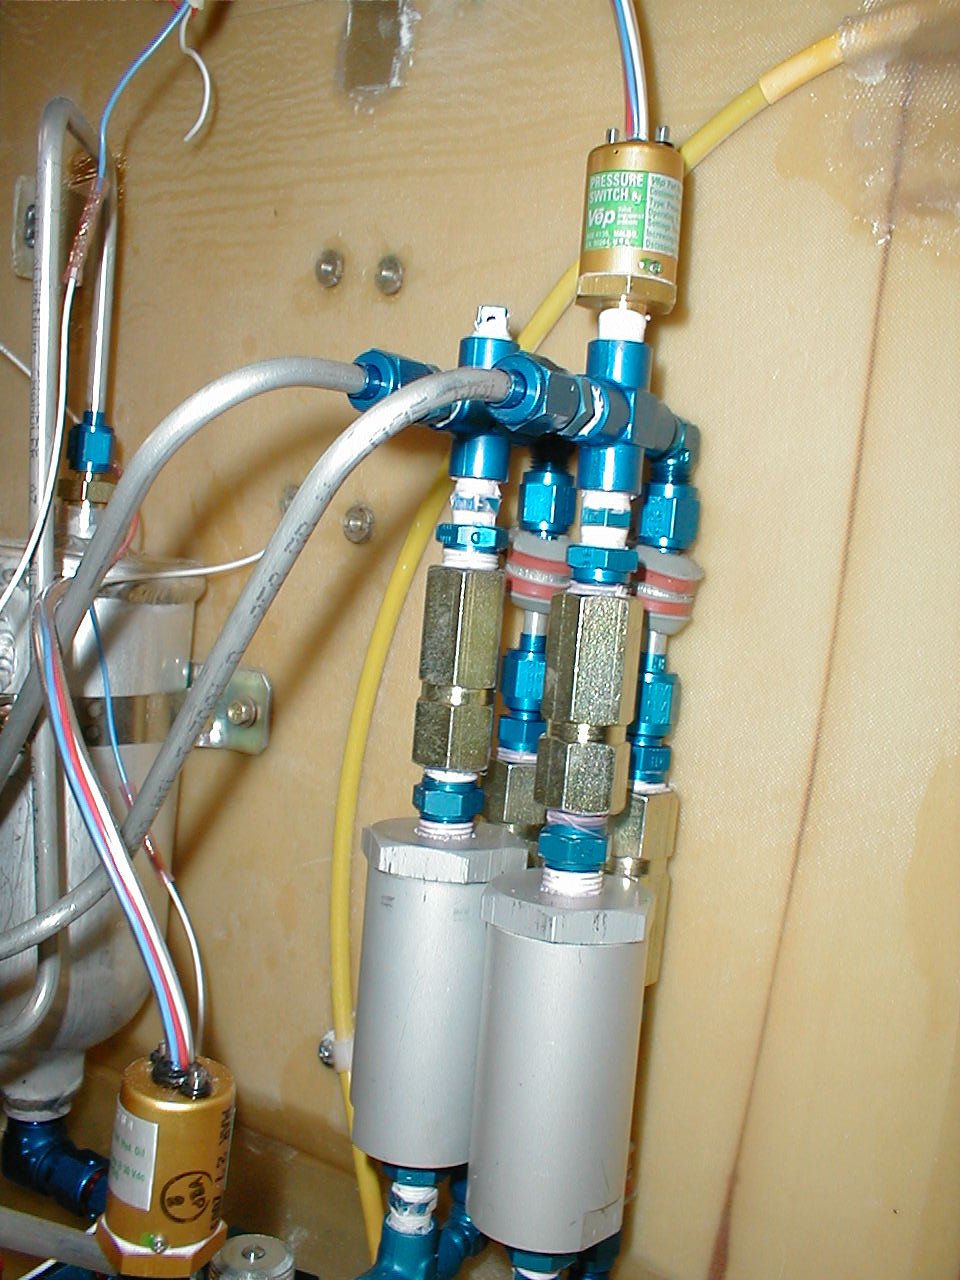 |
| Hydraulics, what a mess. | 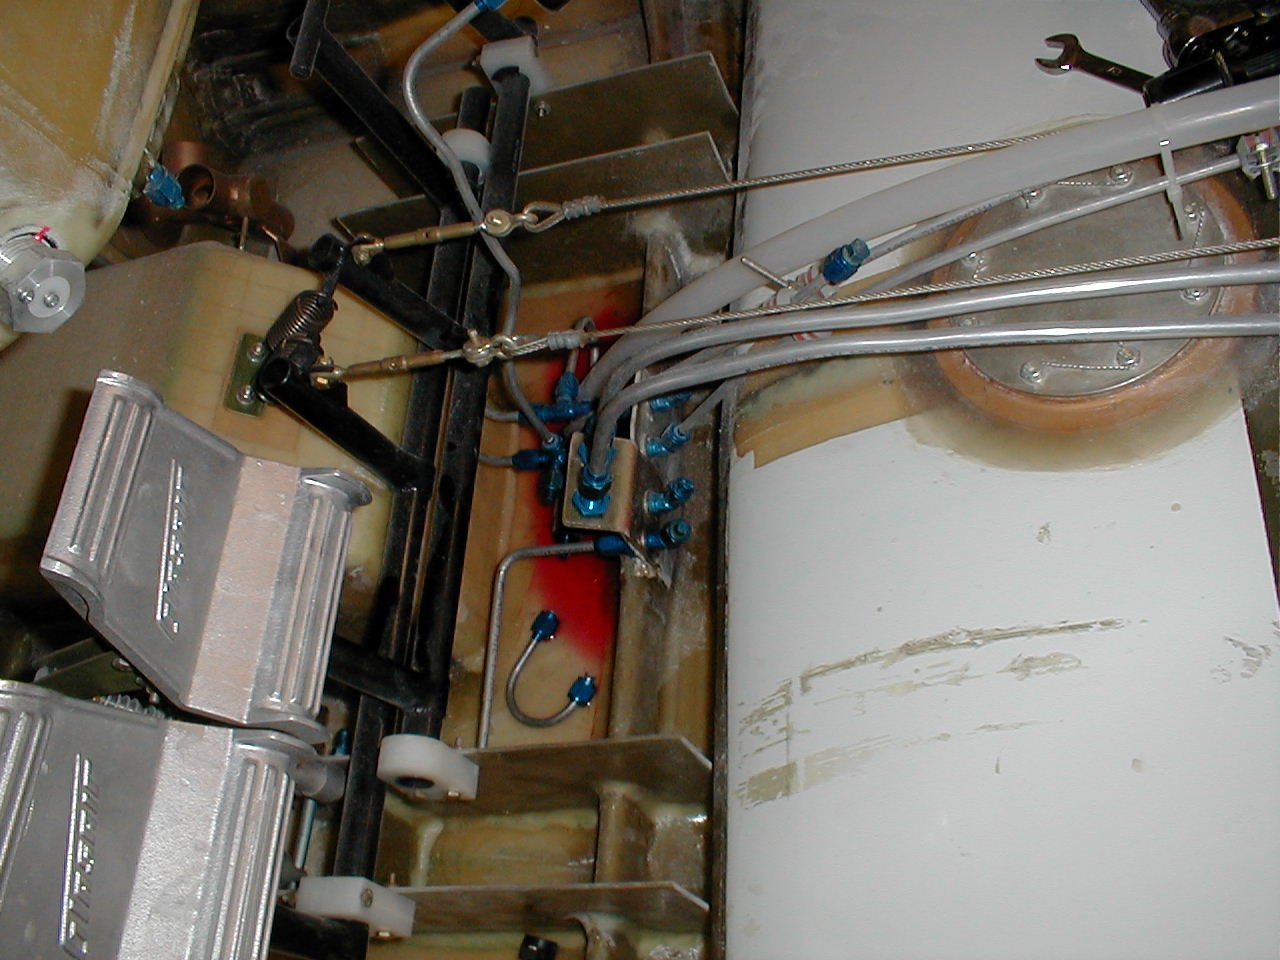 |
| Overflow tank installed between the hydraulic reservoir and the emergency dump valve. | 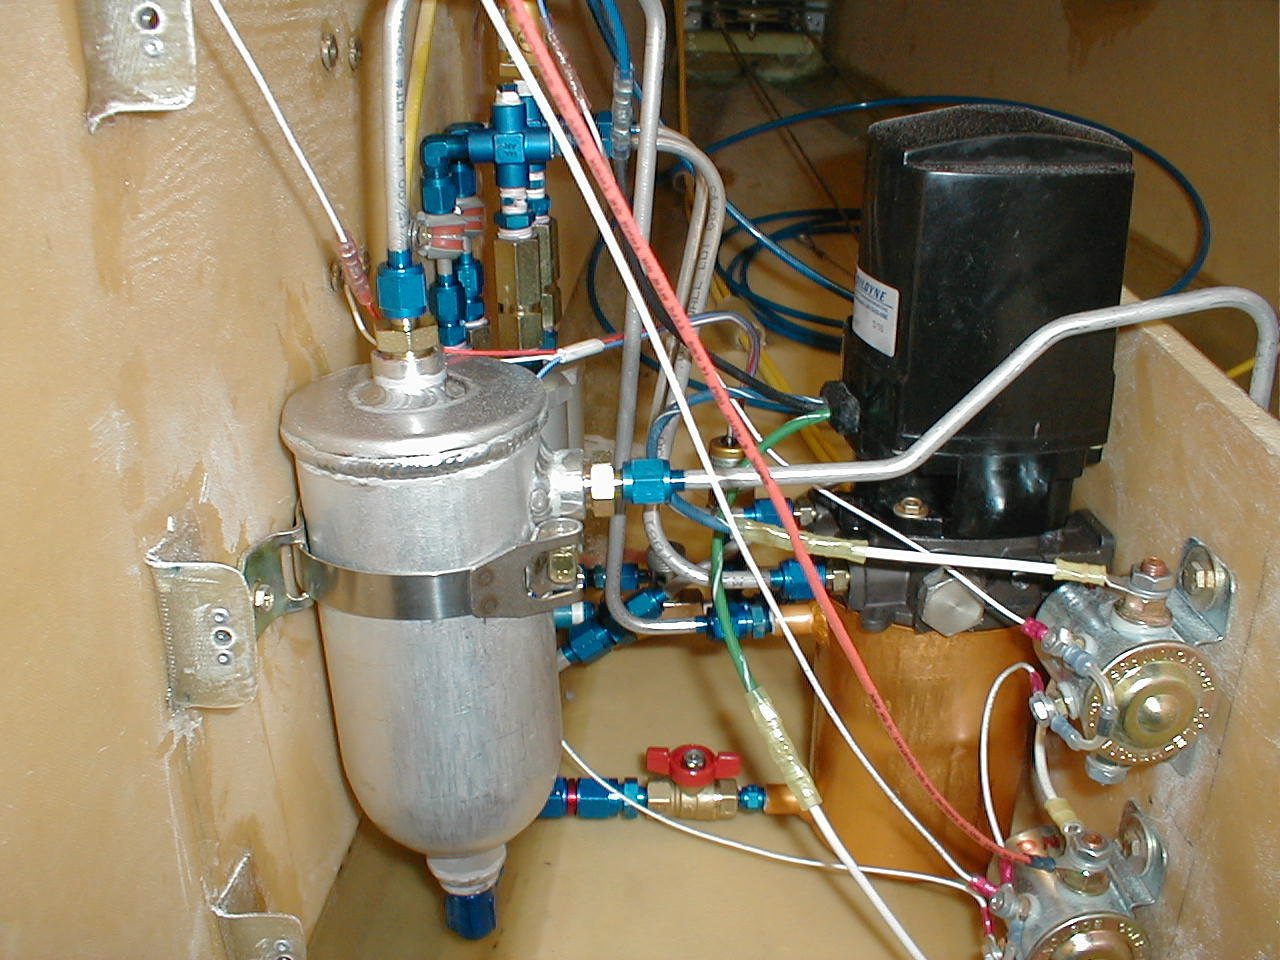 |
| Cooling to the mechanical fuel pump | 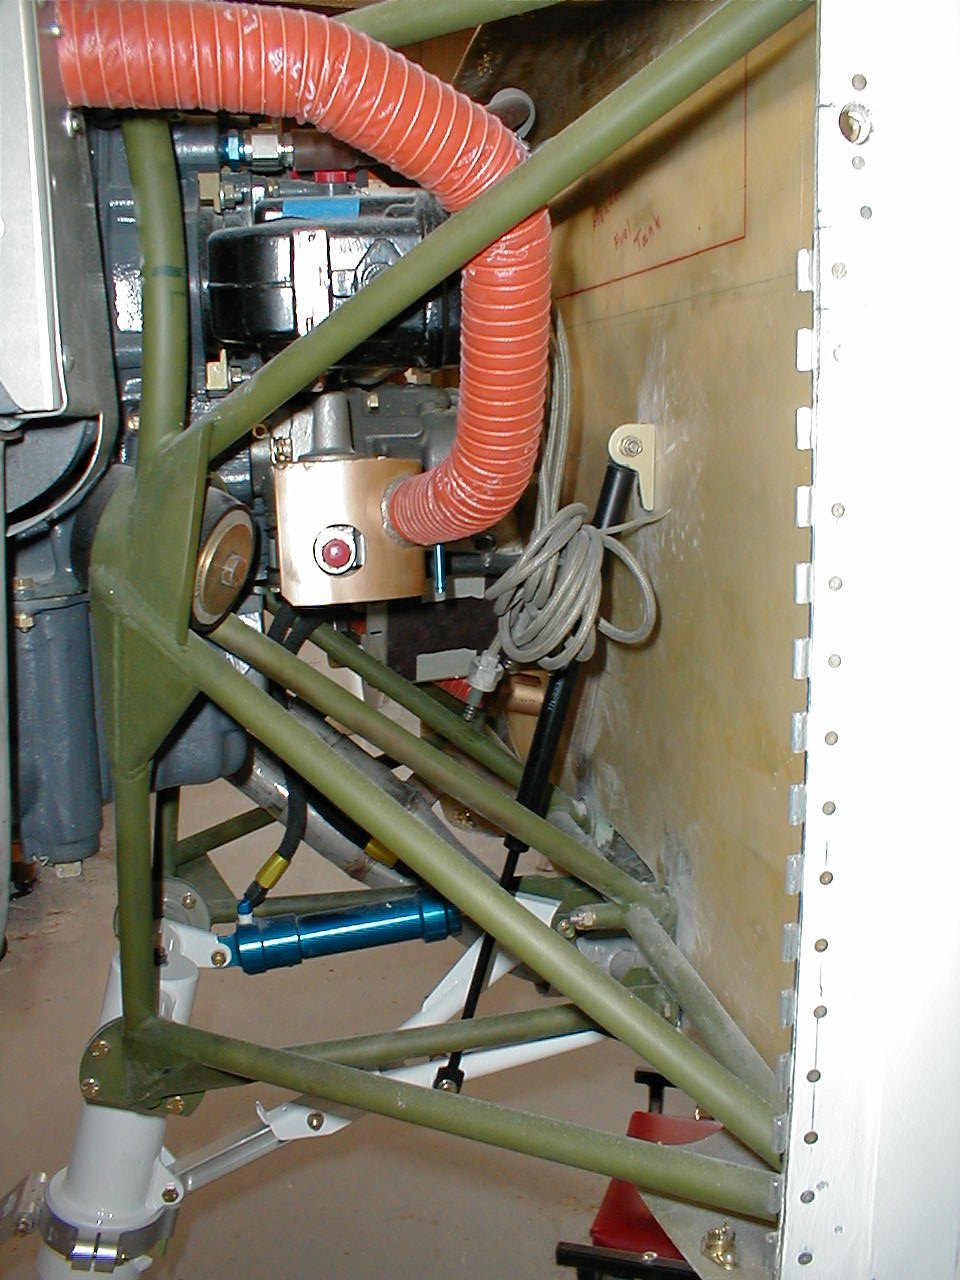 |
| Heated pitot mast installed | 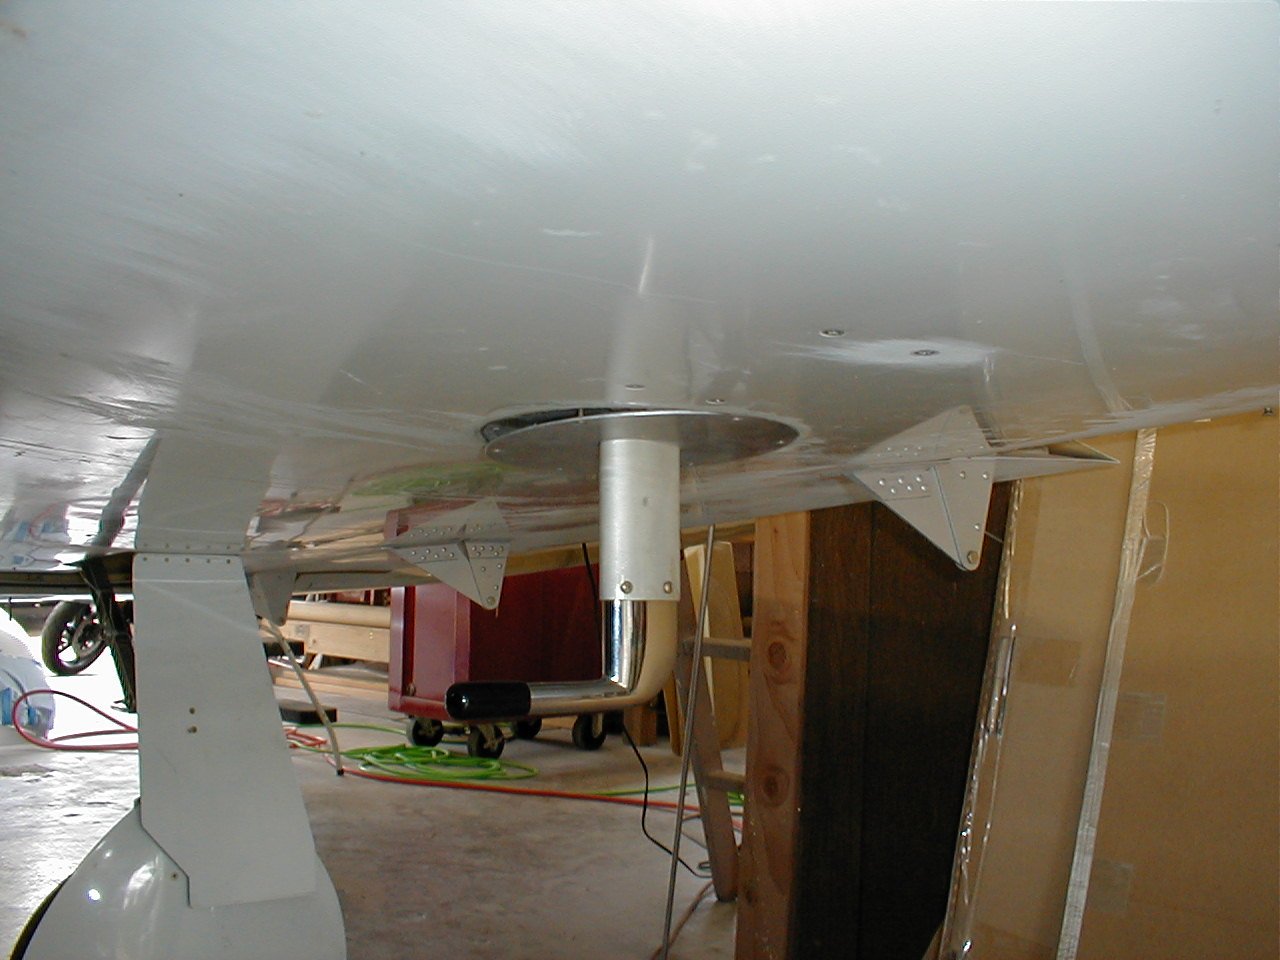 |
| Cooling box for the gascolator. | 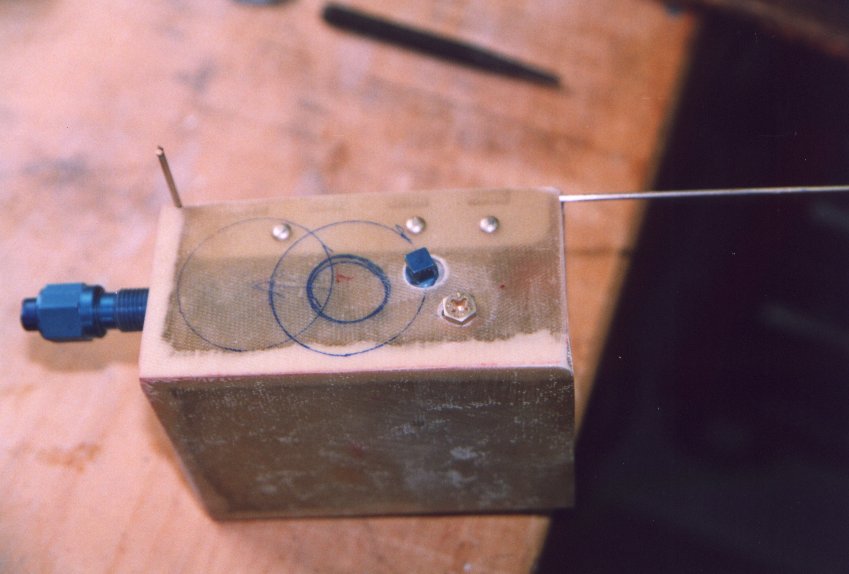 |
| I am not installing a "aviation" strobe power supply. But why you say. Well for less than half the price of a Whelen power supply I installed a Nova Electronic X-Pac 904 from Strobes and More. This is typically used on emergency equipment, fire engines, ambulances... I still am using the standard flash tubes from Whelen with this supply and it real lights up the place. Quick test in the shop and I was seeing starts for sometime. Output of the Nova supply is 80 joules. The Whelen supply provides 42 joules. |  |
| Tubes going over the leading edge. | 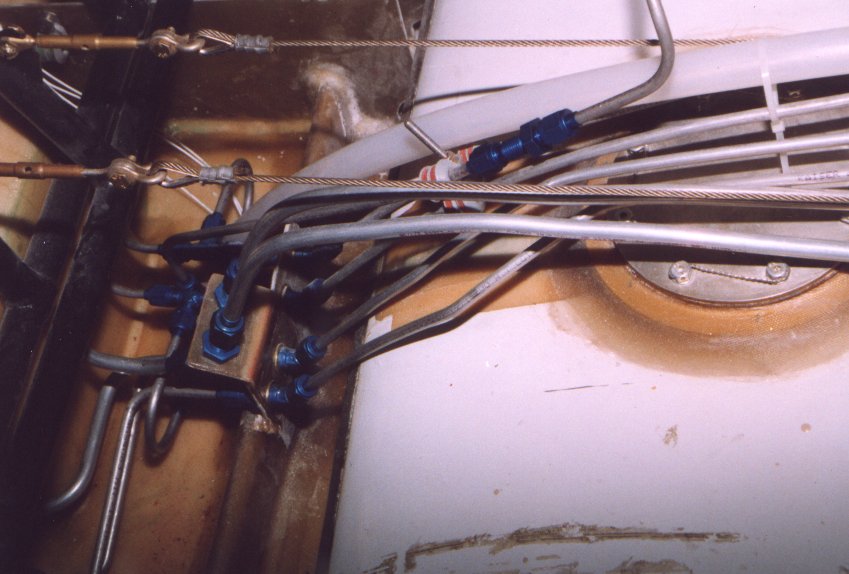 |
| I had to build a bracket to move the left rudder pedal down and outboard a bit to provide clearance to the fuel selector valve. |  |
| Fuel line firewall penetration. |  |
| The AOA computer mounted to the left inside fuselage wall. | 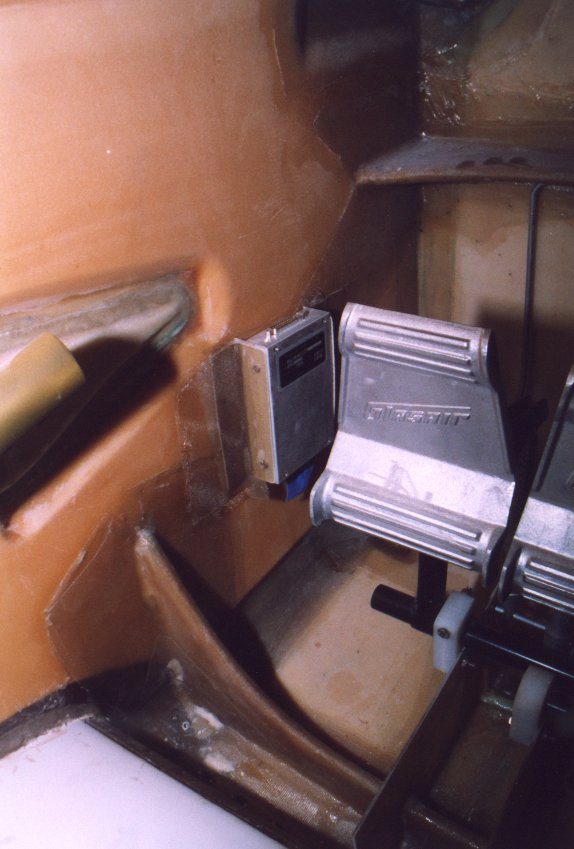 |
| I made a guard around the trim wheel. With the center console installed it was possible to push against it and prevent the trim wheel from turning. |  |
| I put all the tubing connections at the leading edge in one location. The hope is that the wing can be removed without disconnecting to many lines. Under all this mess is a shuttle valve for the hydraulic pressure gauge. | 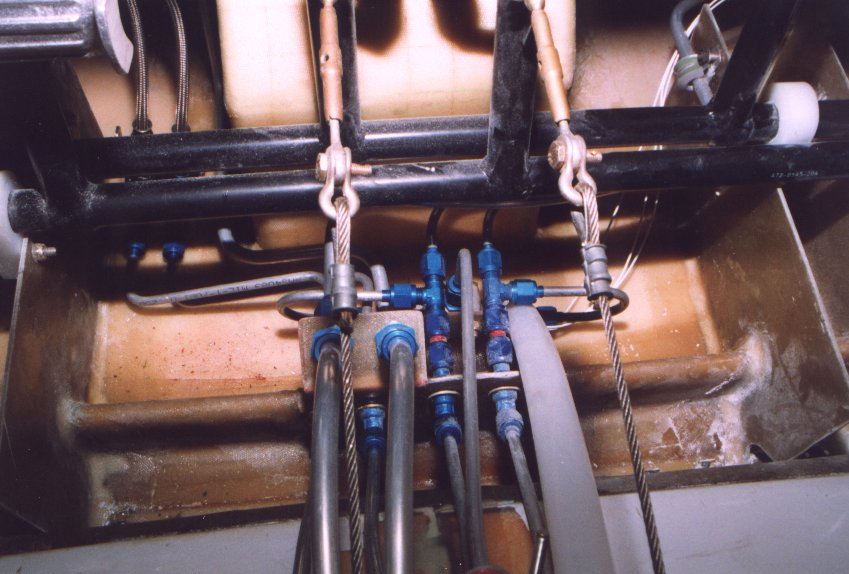 |
| This is all that was left after starting with 140 feet of tubing! It is amazing how much tubing is installed in this little airplane. | 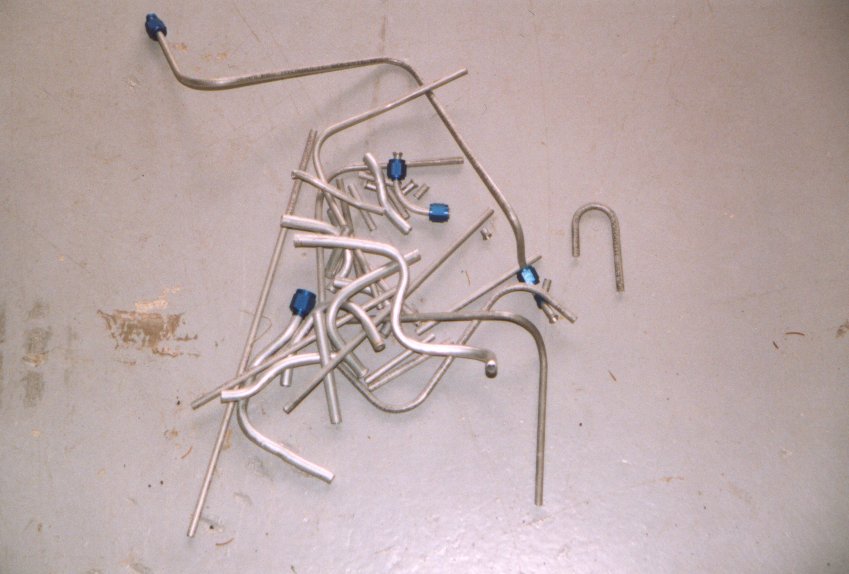 |
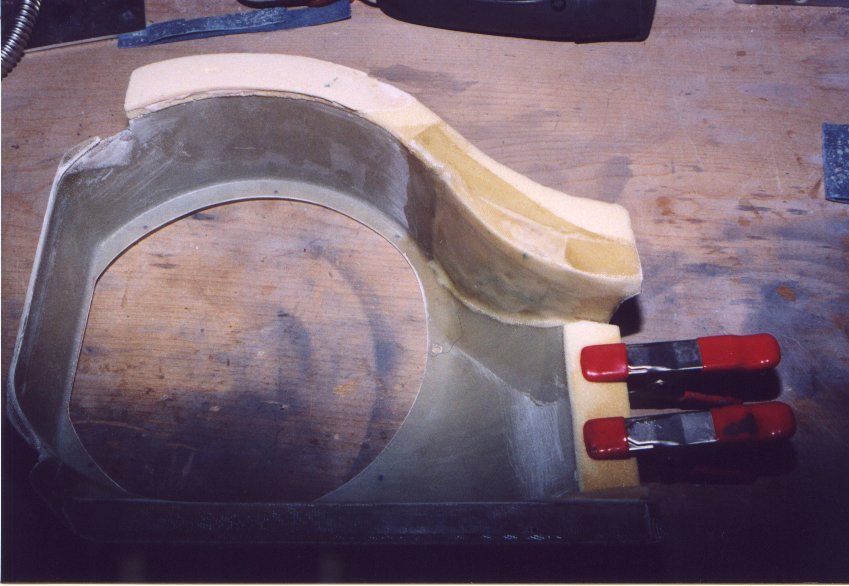
| The NACA duct formed inside the cowling. | 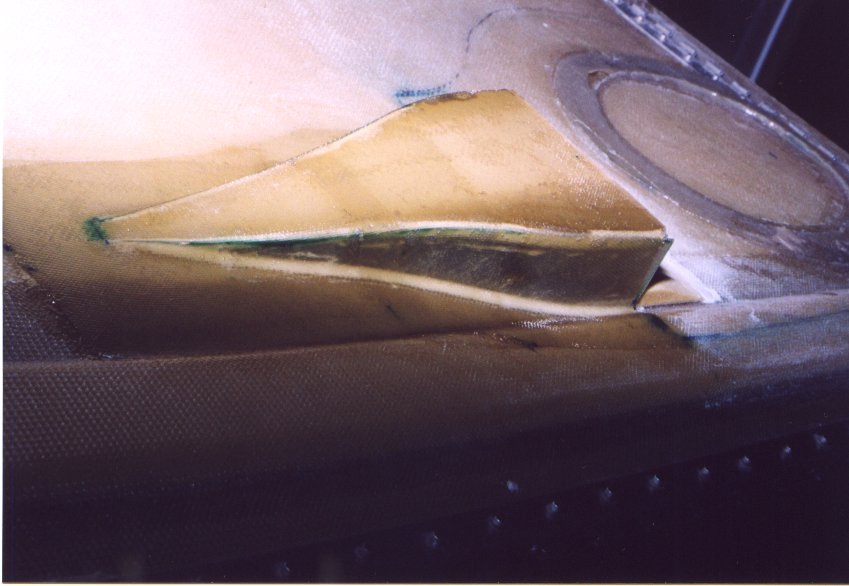 |
| I reduced the inlet of the NACA
duct by 30%. Doing so meant than the height and width of the opening
needed to be reduced to still conform to the NACA specification of the
inlet. The reason behind the reduction is as follows. The engine is 360
cubic inches in displacement. At 2700 rpm that is 243,000 cubic feet per
minute, remember it is a four stroke. Worst case in when the airplane
airspeed is zero and the NACA duct has no ram effect.
Besides which the Glasair III have the same size inlet NACA duct, and the III uses an IO-540 engine 30% bigger. |
 |
| Cooling shield around the gascolator |  |
| This was an early attempt at preventing the cable that closes the nose gear door from getting hung-up on the fasteners on the gear. | 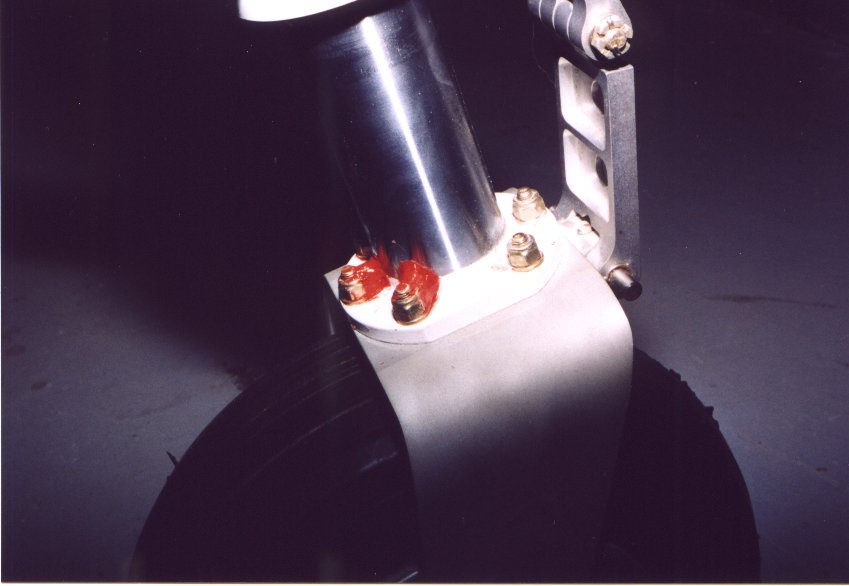 |
| Parking brake valve mounted | 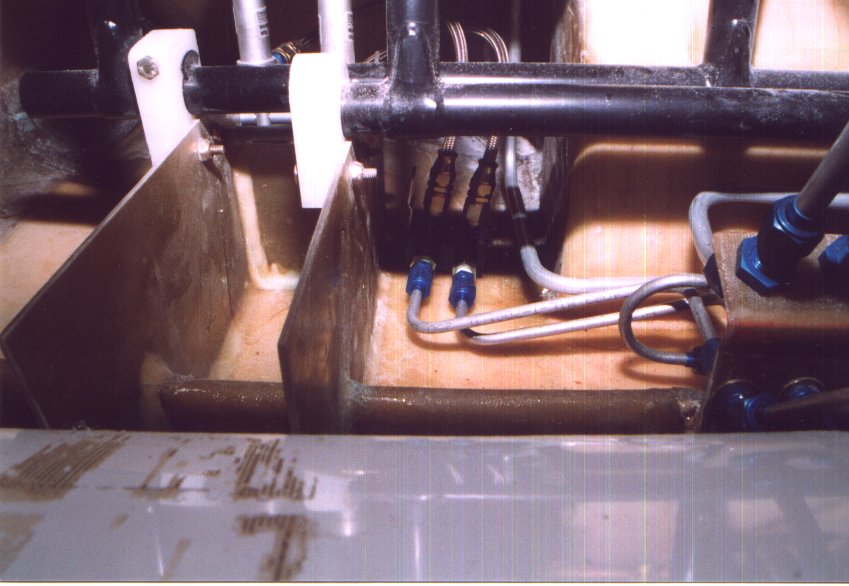 |
| Mounts added to the bottom of the instrument panel that the center console containing the throttle attach to. | 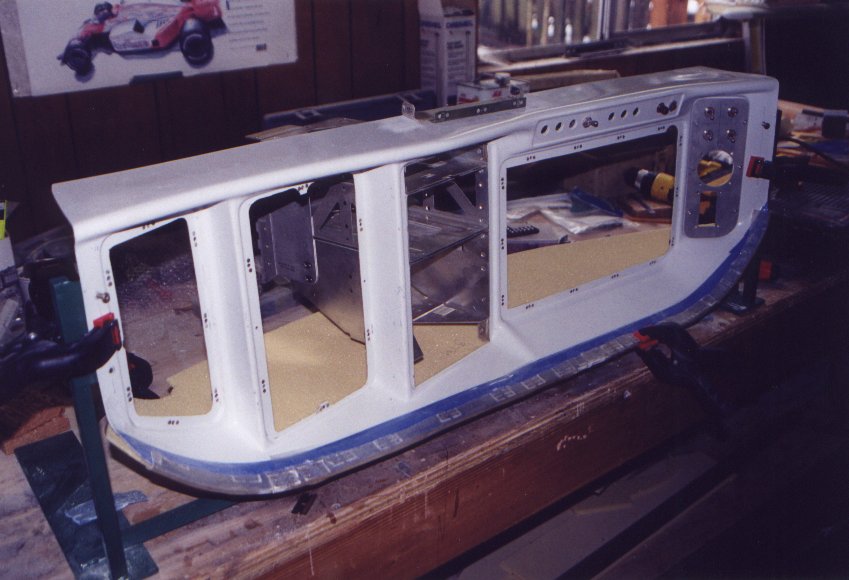 |
| Brake reservoir mounted | 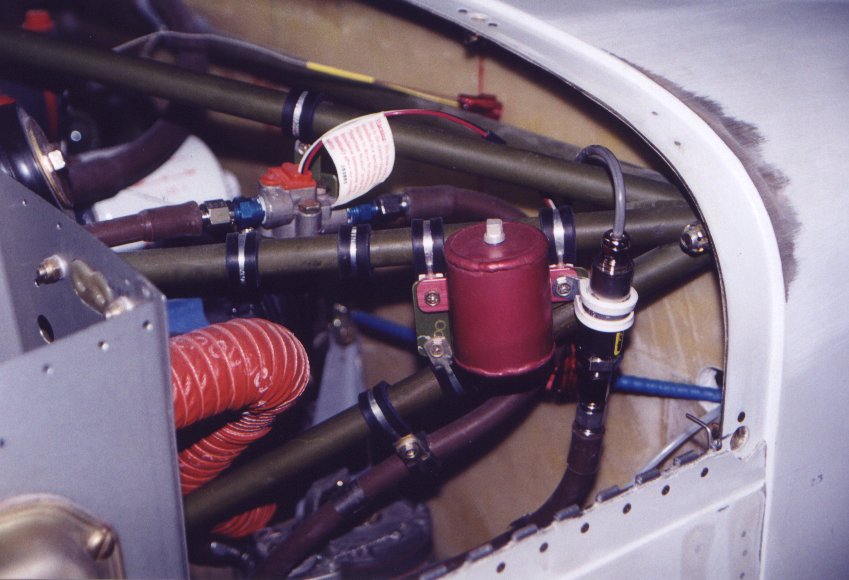 |
| Dad working on the inboard flap close-outs. |  |
| I added a support to the forward end of the radio stack. On the same support I located the electrical disconnects for all the engine instruments. | 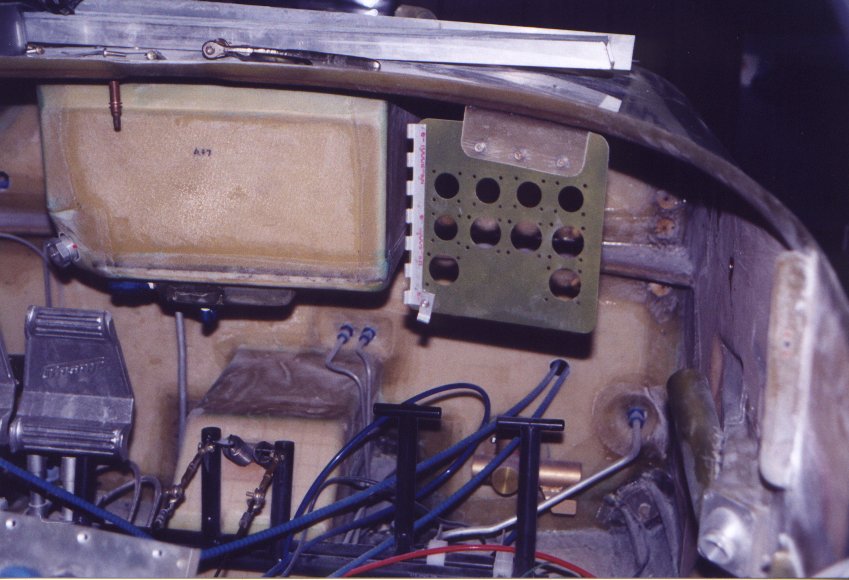 |
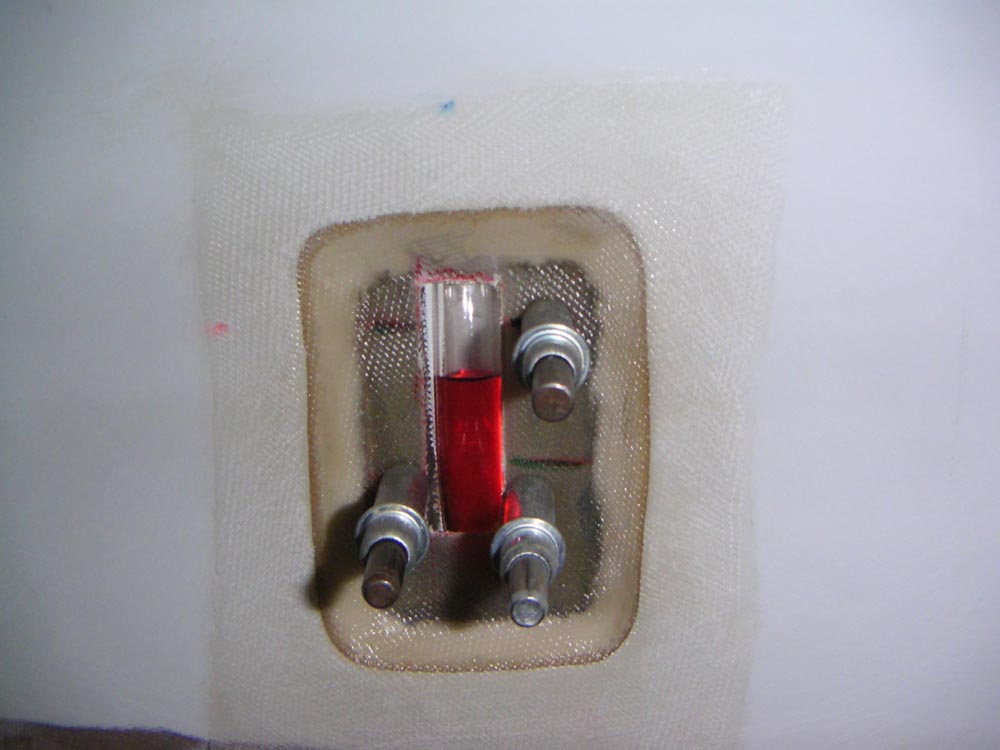
| This is cool. Copied from Andrew Seefried. I installed a sight gauge in the side of the fuselage to determine the hydraulic fluid level during preflight. | 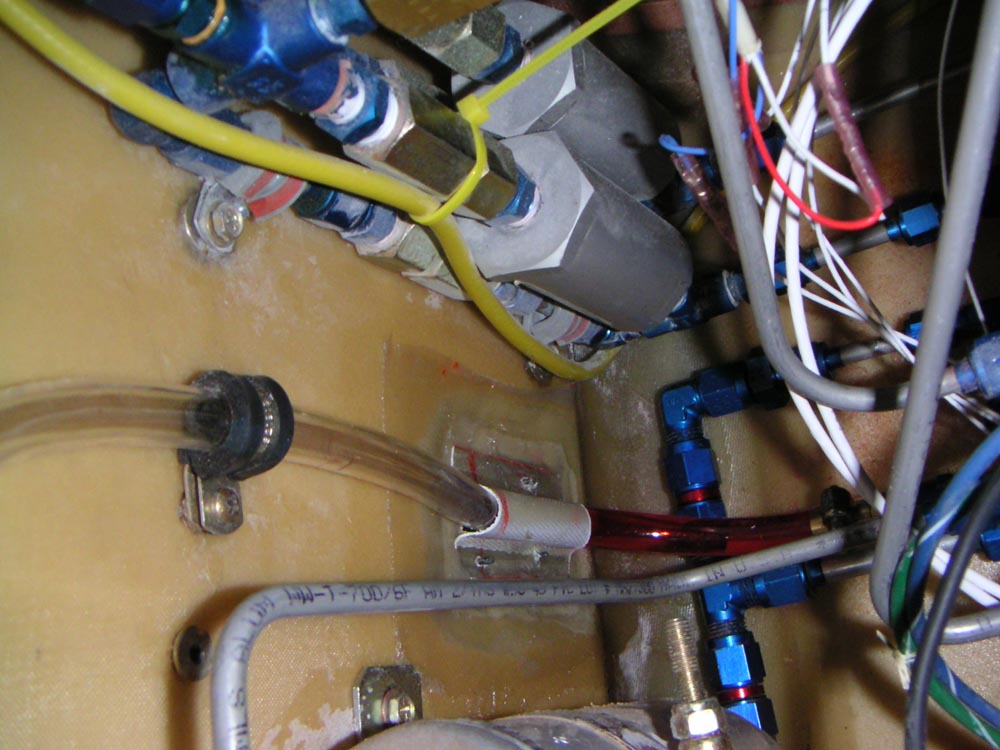 |
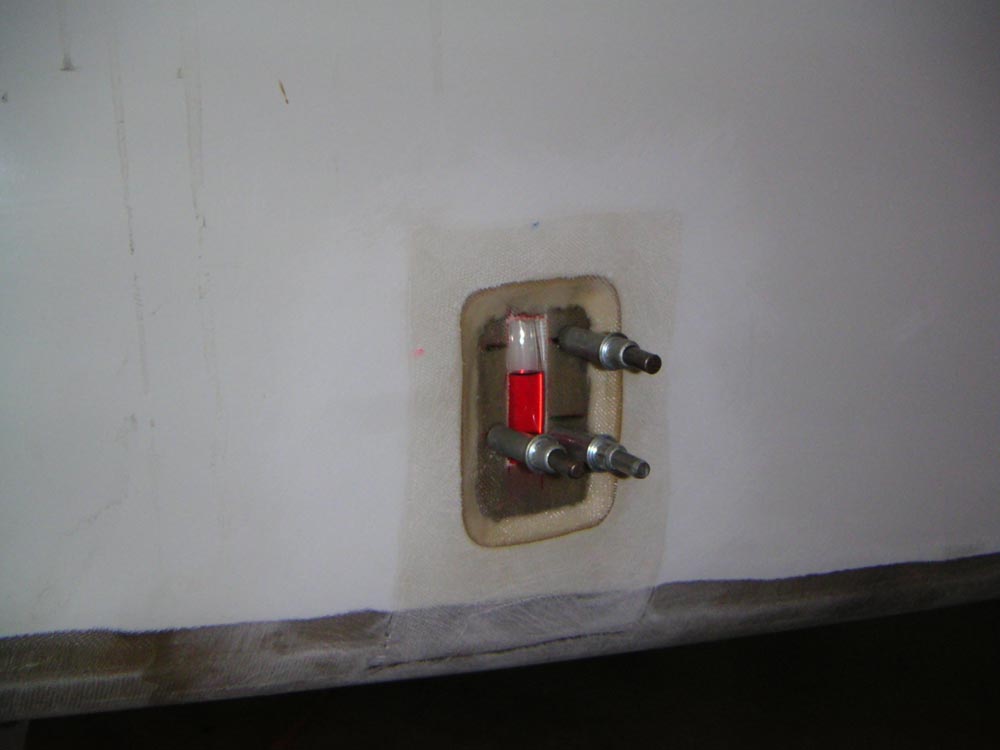
| Cut a small hole in the side of the fuselage and make a joggle just like the windows. Bond a piece of Plexiglas in place. On the inside connect a piece of clear tube between the bottom of the hydraulic tank and the vent. | 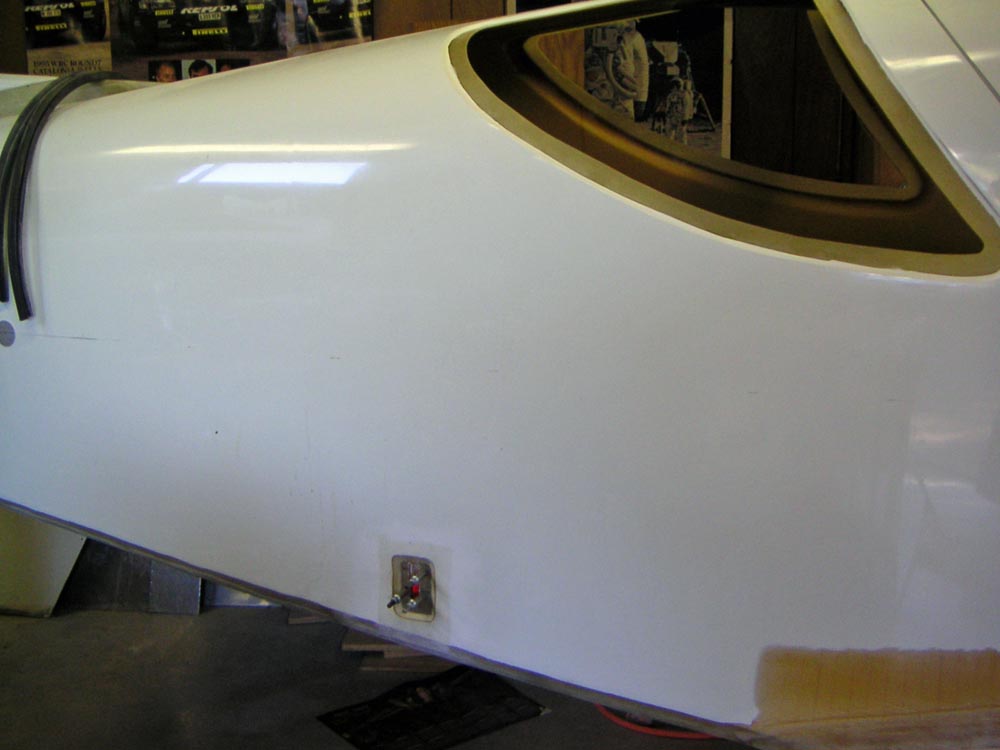 |
 |
|
 |
|
 |
|
 |
|
| Landing gear hydraulic system | 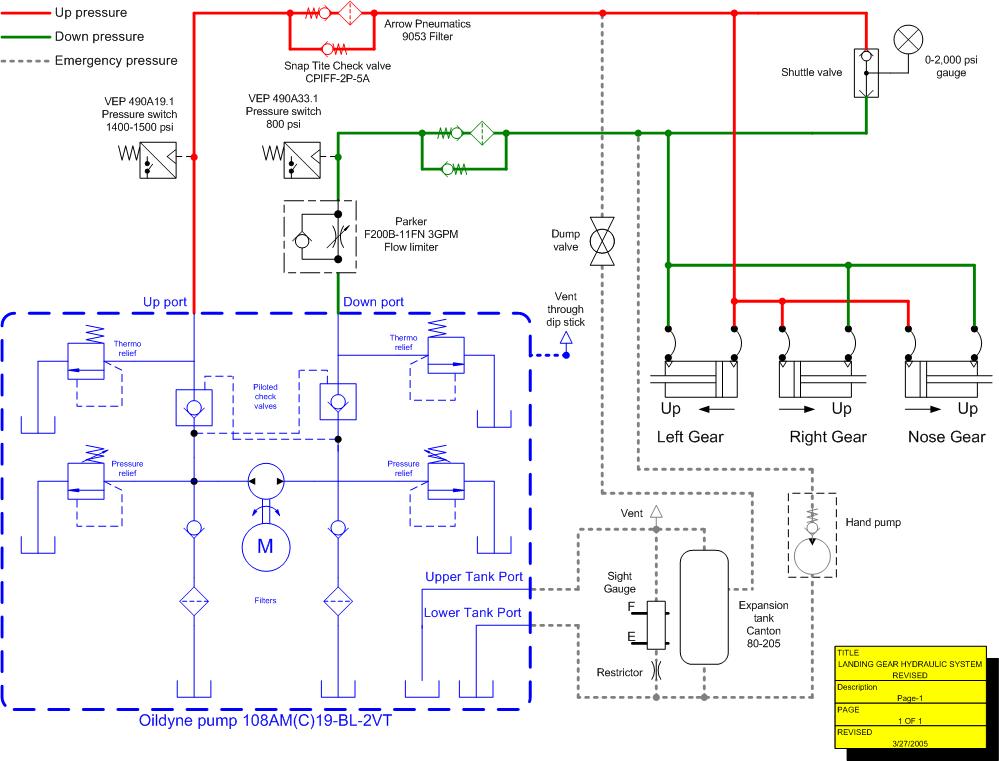 |
| I found some "Chrome" spray paint at the auto paint store. I sprayed the inside of the navigation light housings to act like a reflector. | 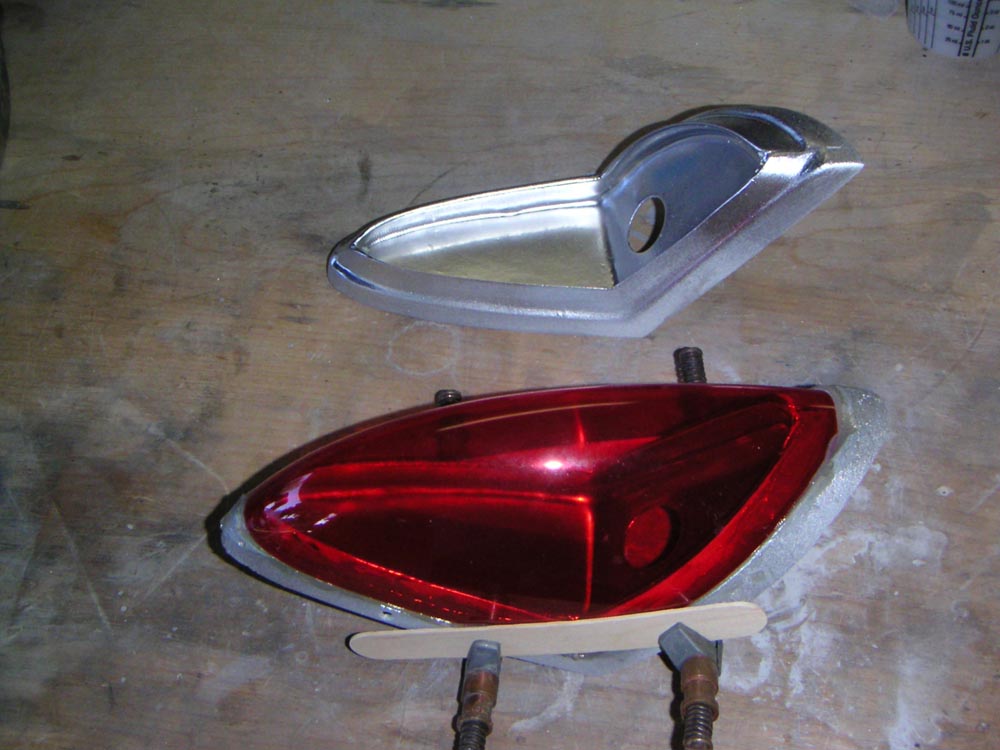 |
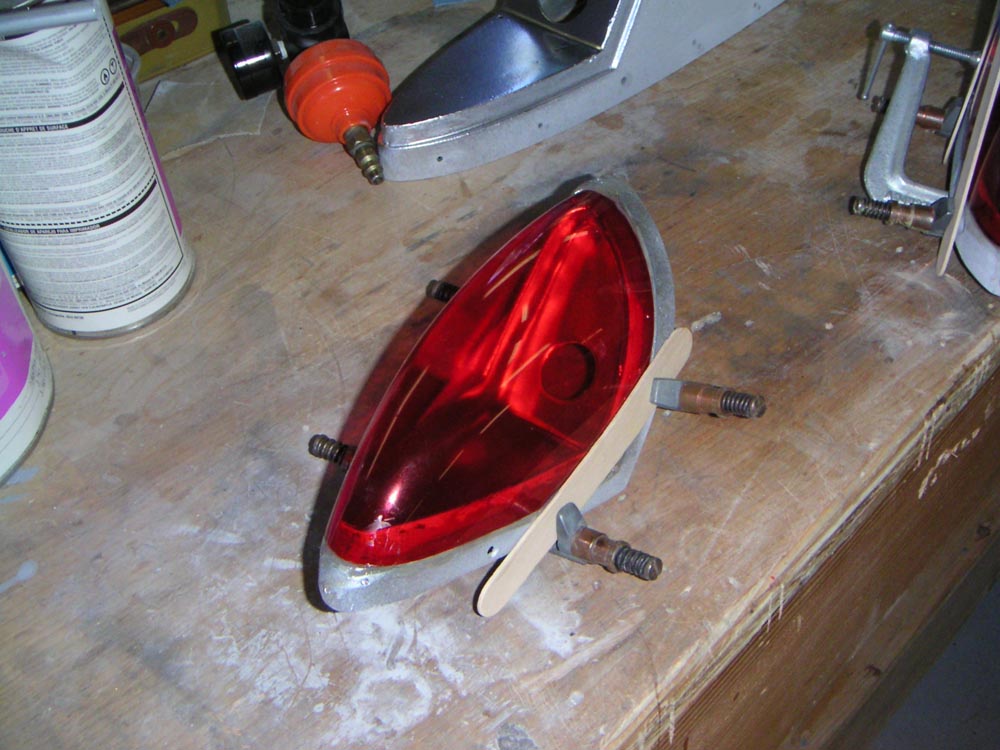
| I made a fiberglass frame for the nav. lights that are on the extended tips. I didn't what to put screws thought the Plexiglas as I have seen many airplanes with cracks that start where the screw hole are located in the Plexiglas. In this way there are no hole for a crack to start at. The frame is then screwed on to the tip. | 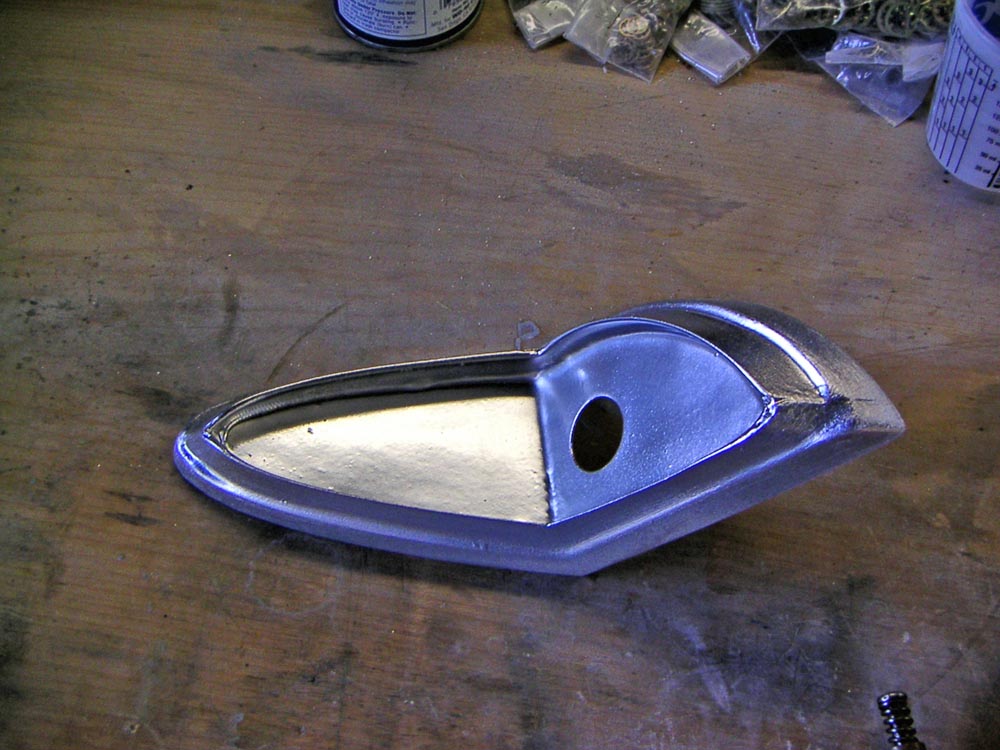 |
| The short tips are bonded as per the instructions. | 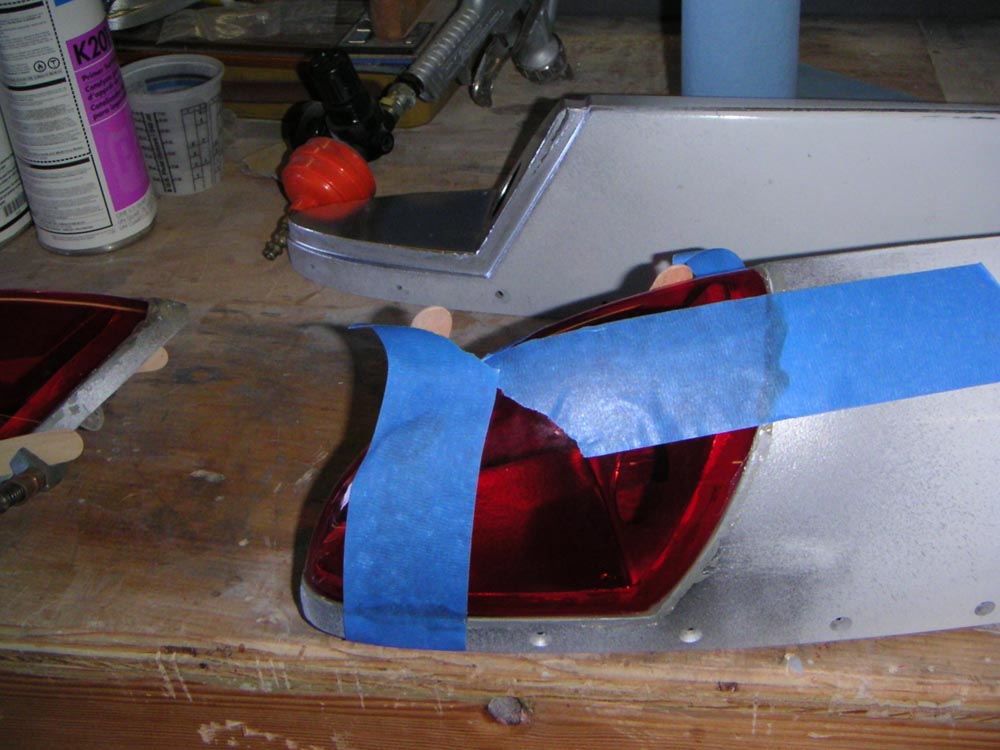 |
 |
|
| From the sidewalk you
can see into the garage and see the airplane. It amasses me that when we
have the door open the number of people that stop and want to see the
airplane. Top questions/statements are:
"How are you going to get it out of here" , "Are you going to flying in that", "Your crazy" |
 |
| As the project sits 6/04 | 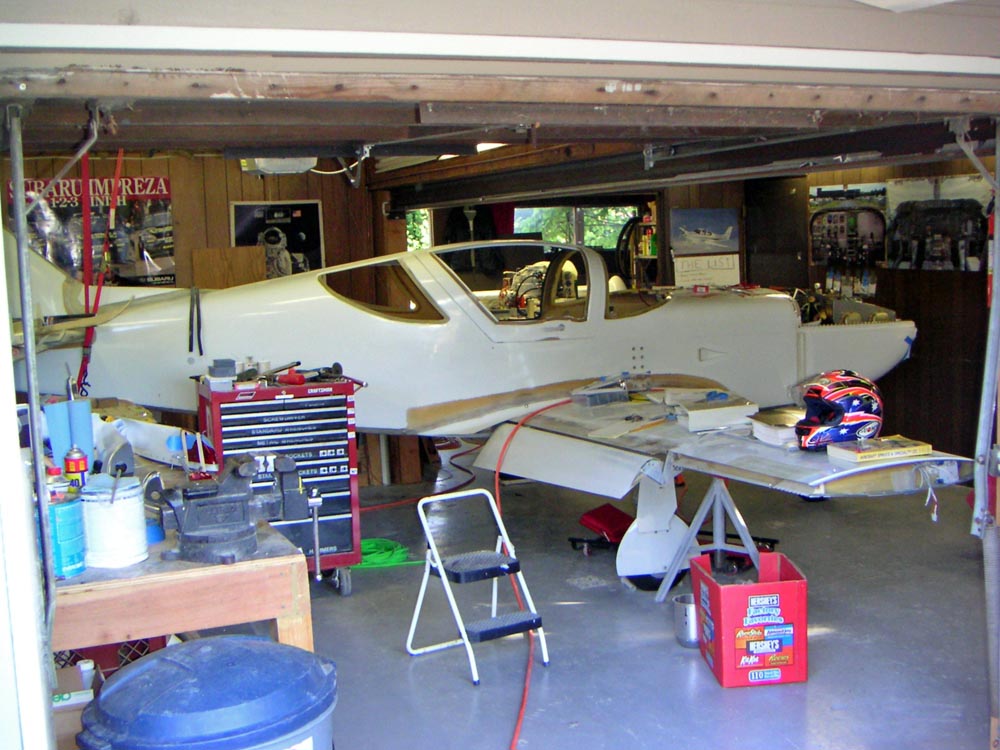 |